# Add Additional Member Accounts
This tutorial describes how to add AWS-linked accounts to an existing Marketplace agreement by placing a change order.
## Prerequisites
Before starting this tutorial, make sure your AWS Marketplace agreement is active.
You must also know the email address you want to use to create your member account in AWS and the account name.
## Adding additional member accounts
{% stepper %}
{% step %}
**Start the purchasing process**
To start the process:
1. Navigate to the **Products** page.
2. From the list of products, select **Amazon Web Services**.
3. On the product details page, select **Buy now**. The Purchase Wizard for AWS starts.
The Buy Now option on the product details page.
{% endstep %}
{% step %}
**Follow the steps to add additional member accounts**
Complete the following steps, making sure to enter or verify the required information where necessary:
1. **Select agreement** - Choose an active agreement and then select **Next**.
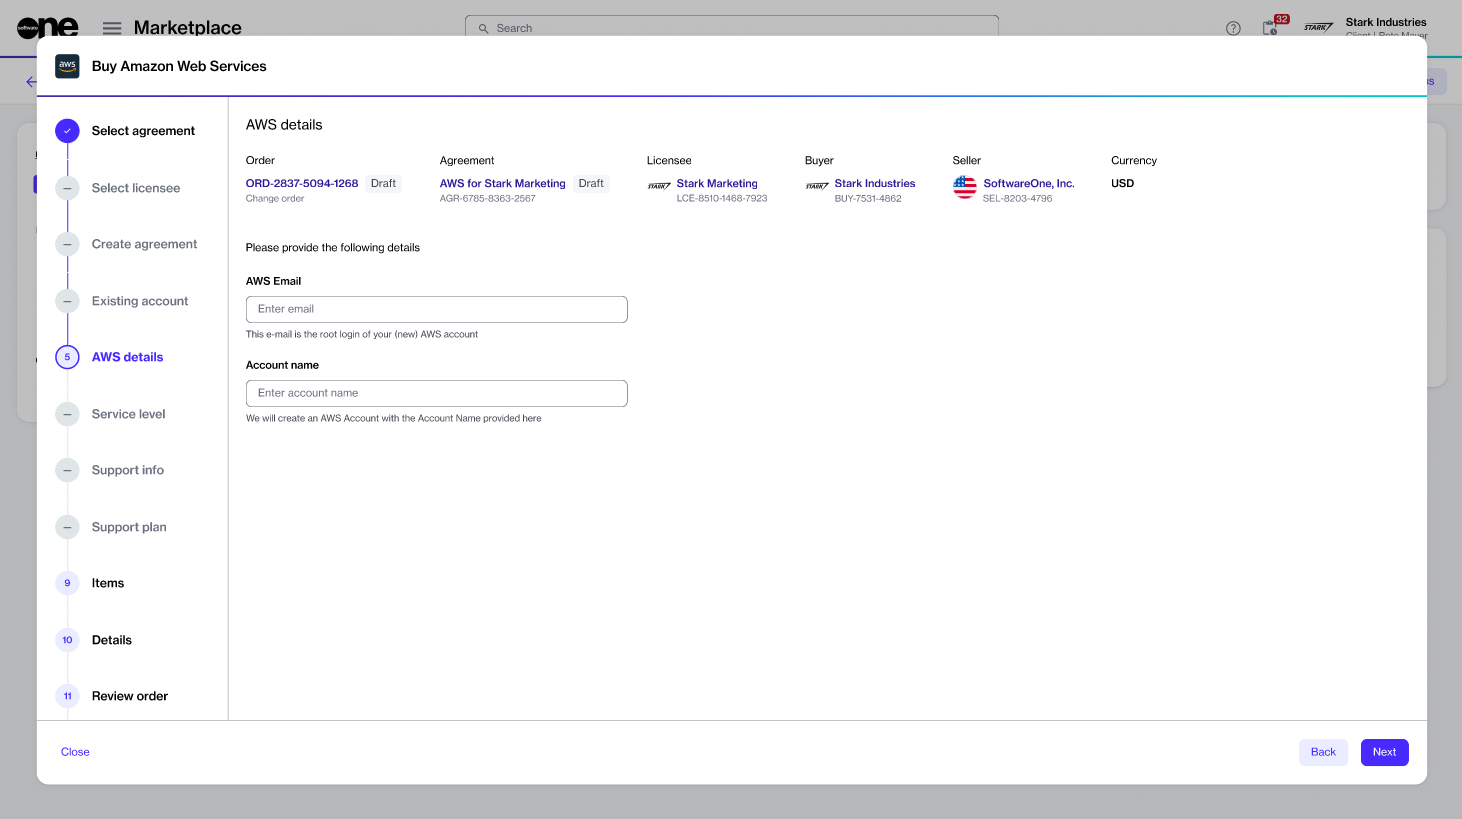
2. **AWS details** - Provide the following details:
1. **Email** - Enter the email address you want to use to create your member account in AWS. Make sure that the email address is unique and hasn't been used previously in the AWS cloud.
2. **Account name** - Enter a name for the new account.
The details step in the purchase process.
3. **Items** - Select **Next**. This page shows the existing AWS subscription you ordered under the agreement, along with the new AWS subscription you are about to order. Additionally, you'll see additional items that are included by default and can’t be removed. See [My AWS order contains additional items](https://docs.platform.softwareone.com/extensions/amazon-web-services/faqs-1/my-aws-order-contains-additional-items) to learn more.
4. **Order details** - Enter the reference information as needed. You can use the **Additional ID** field to enter a PO number to display on your invoice. When done, select **Next**.
5. **Review order** - Review the item and other details. Then, select **Place order** to submit your change order.
6. **Summary** - Select **View order** to navigate to the order details page. Otherwise, select **Close**.
{% endstep %}
{% endstepper %}
## Next steps
When your order has been placed, we verify the order details.
If there are issues with your order, the [order details](https://docs.platform.softwareone.com/modules-and-features/marketplace/orders#subscription-details) page provides information on your next steps.
If there are no issues, we create additional AWS member accounts using the name and email address you provided. You'll receive an email with instructions on resetting your password and accessing your account.
---
# Agent Instructions: Querying This Documentation
If you need additional information that is not directly available in this page, you can query the documentation dynamically by asking a question.
Perform an HTTP GET request on the current page URL with the `ask` query parameter:
```
GET https://docs.platform.softwareone.com/extensions/amazon-web-services/tutorials-1/add-additional-member-accounts.md?ask=
```
The question should be specific, self-contained, and written in natural language.
The response will contain a direct answer to the question and relevant excerpts and sources from the documentation.
Use this mechanism when the answer is not explicitly present in the current page, you need clarification or additional context, or you want to retrieve related documentation sections.