Loading...
Loading...
Loading...
Loading...
Loading...
Loading...
Loading...
Loading...
Loading...
Loading...
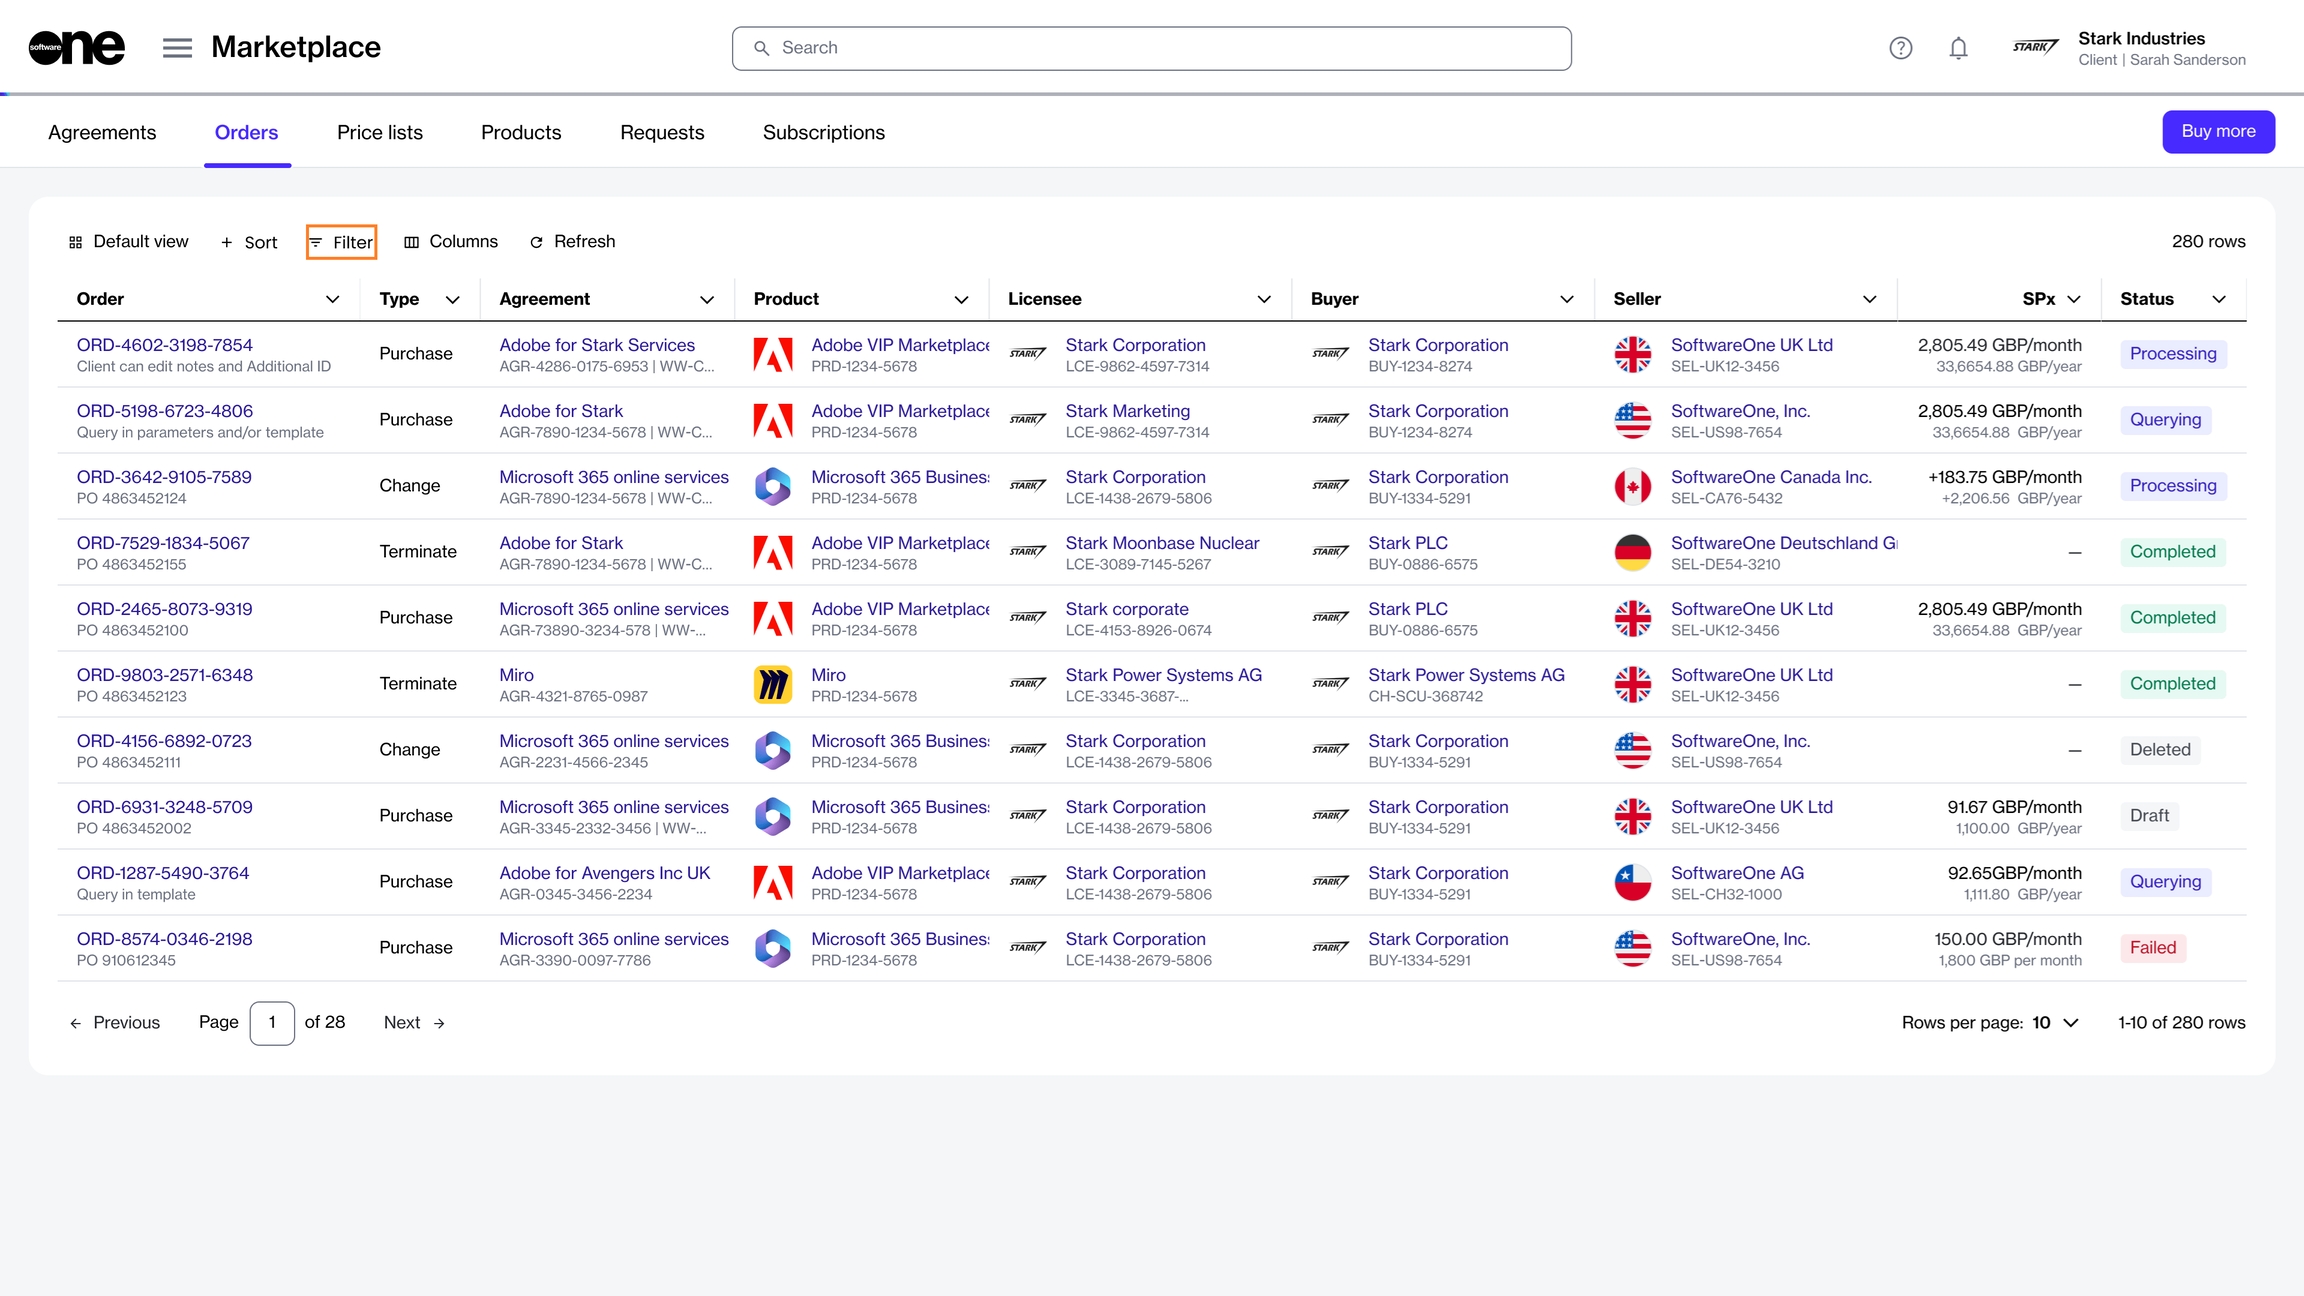
Once you've placed an order through the Marketplace Platform, it's displayed on the Orders page. You can access the Orders page from the main menu by selecting Marketplace > Orders.
The platform supports various types of orders including change orders, purchase orders, and terminate orders, all of which are visible on the Orders page.
If you need to find a specific order, you can use the filter option to search for an order and view the order information. We provide several filter options you can use to narrow down your list of orders.
You can use a single filter or create a combination of filters by selecting different fields, operators, and values. The following steps describe how to find an order using its status.
On the Orders page, click the Filter option.
When the filter box displays, click Add another condition to open a menu of conditions.
Define the conditions:
In the first field, choose the property. For example, to filter your orders by their status, select Status.
In the second field, choose the search operator. Different operators are displayed depending on the condition you selected in the first field. For this example, leave the value set to Equal.
In the third field, type or select a value from the list of preconfigured values. The values displayed in this field are determined by your selection in the first field. To see your draft orders, select Draft.
If needed, click Add another condition to specify additional conditions as needed.
Your list of orders will be refreshed based on the filters. To reset the filters and revert to the default view, select Reset filters in the filter box.
To view all details of an order, click the order ID in the Order column.
The order details page will open, allowing you to view the basic order information, and associated items, subscriptions, ordering and fulfilment parameters, and entities.
From the order details page, you can also complete the following tasks:
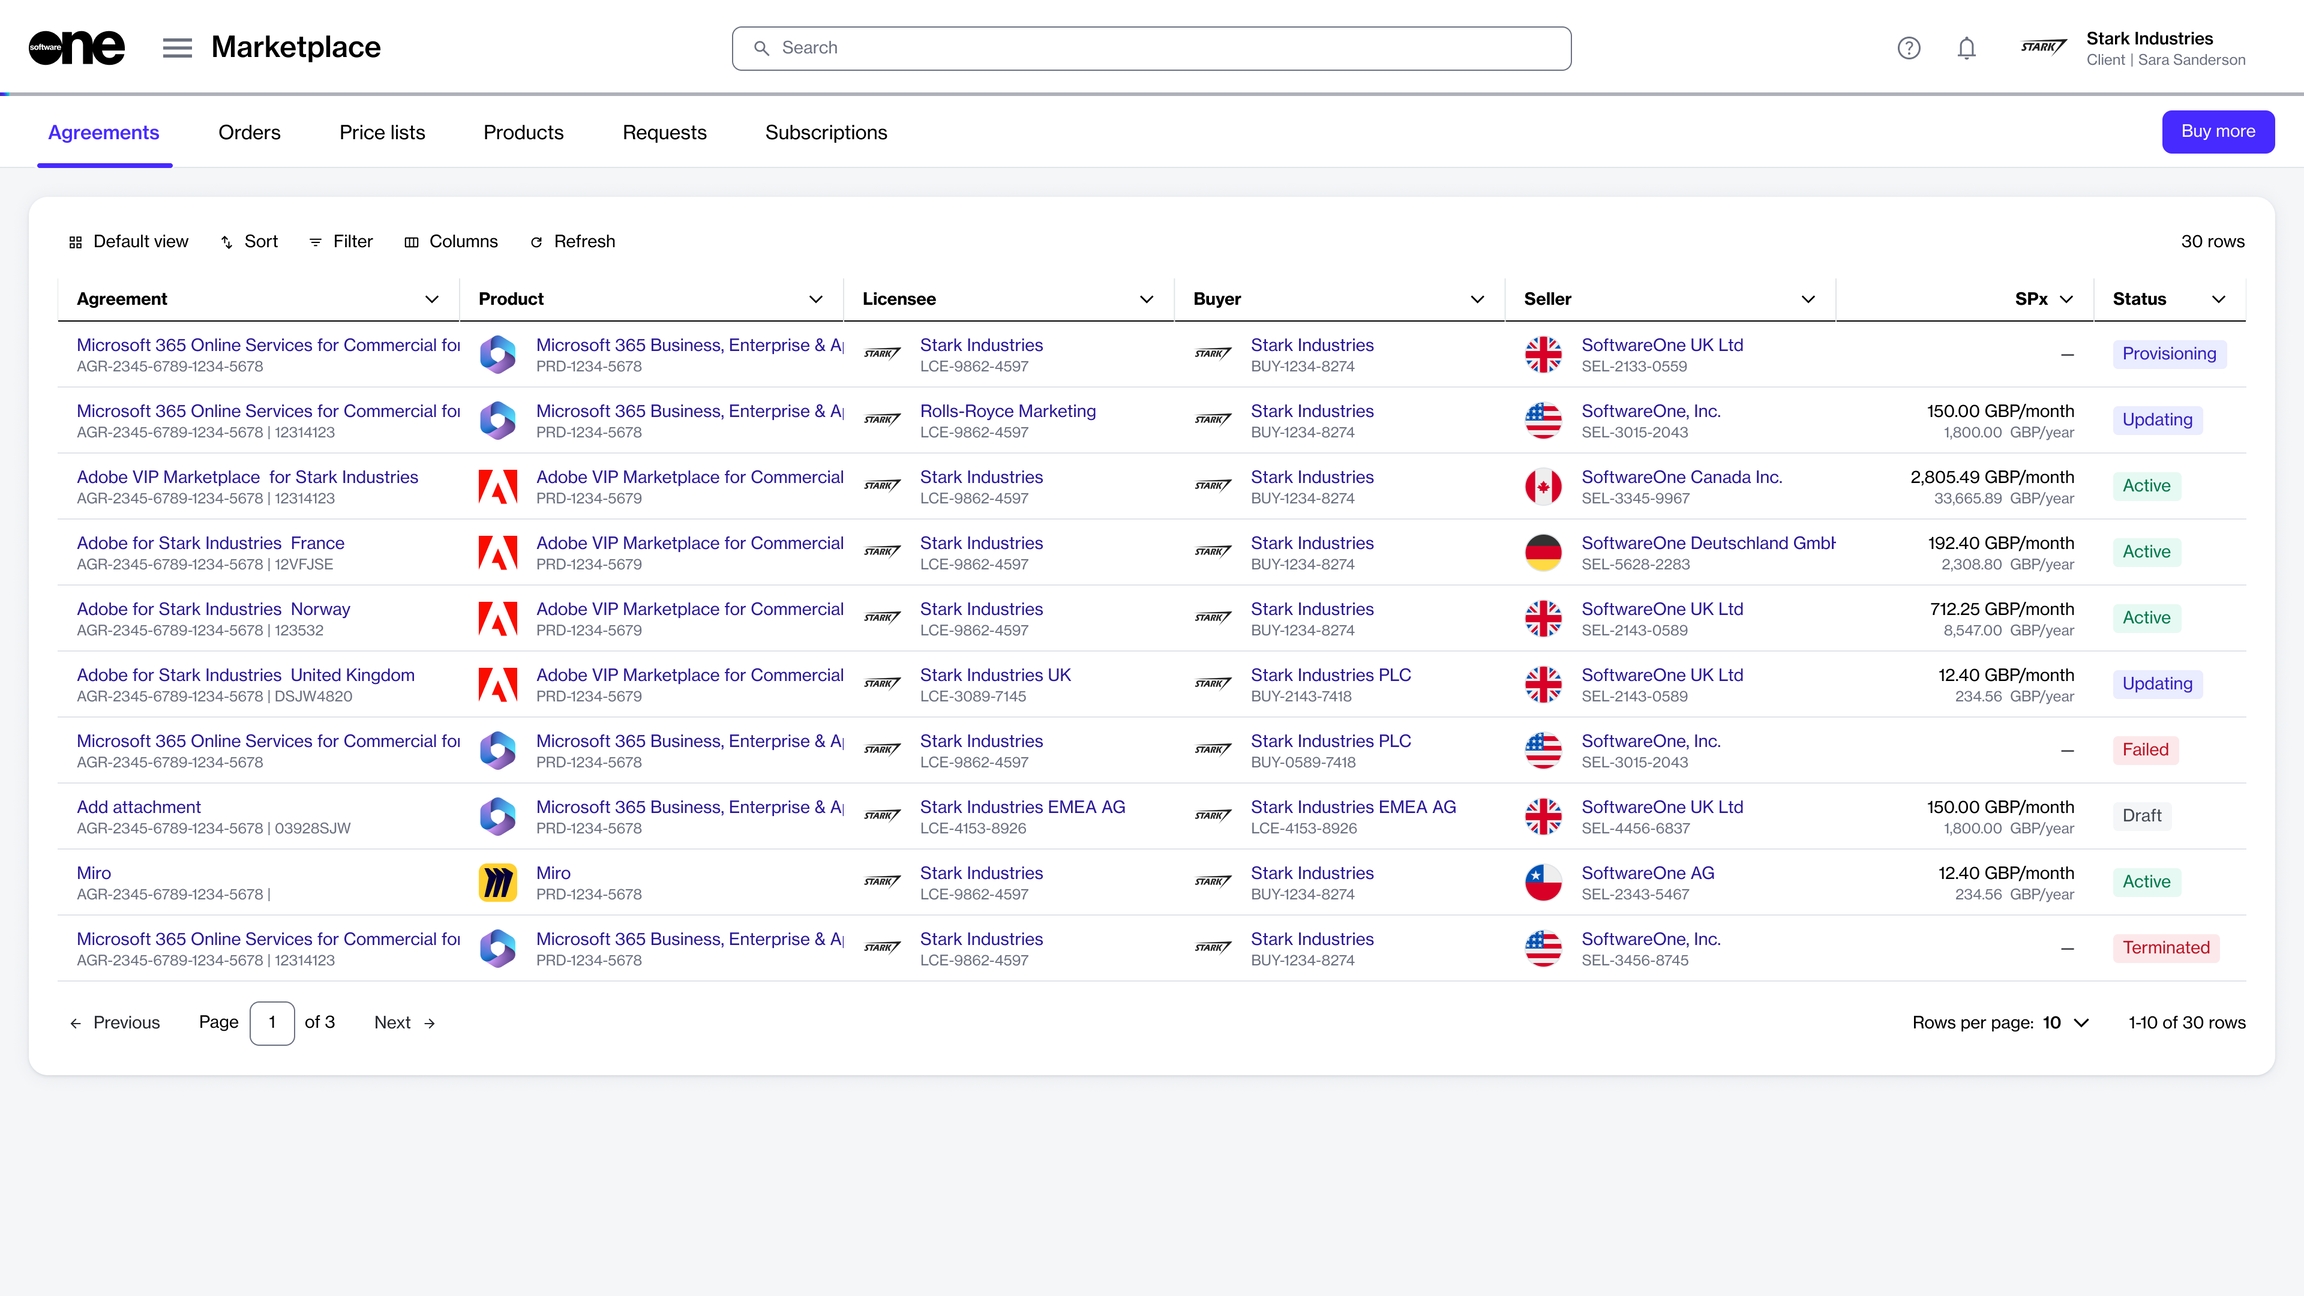
The Agreements page is where you can access all your agreements in one place.
As agreements contain subscriptions, having access to your agreements in one place makes it easier to manage and keep track of subscriptions. Agreements also store important documents that are relevant to the agreement, such as PDF files, terms and conditions, and more.
To view a list of your agreements, select the main menu of the Client Portal and then choose Marketplace > Agreements.
From here, you can view your agreement name, the product you ordered, agreement status, and other details. To learn more, see Agreements Interface.
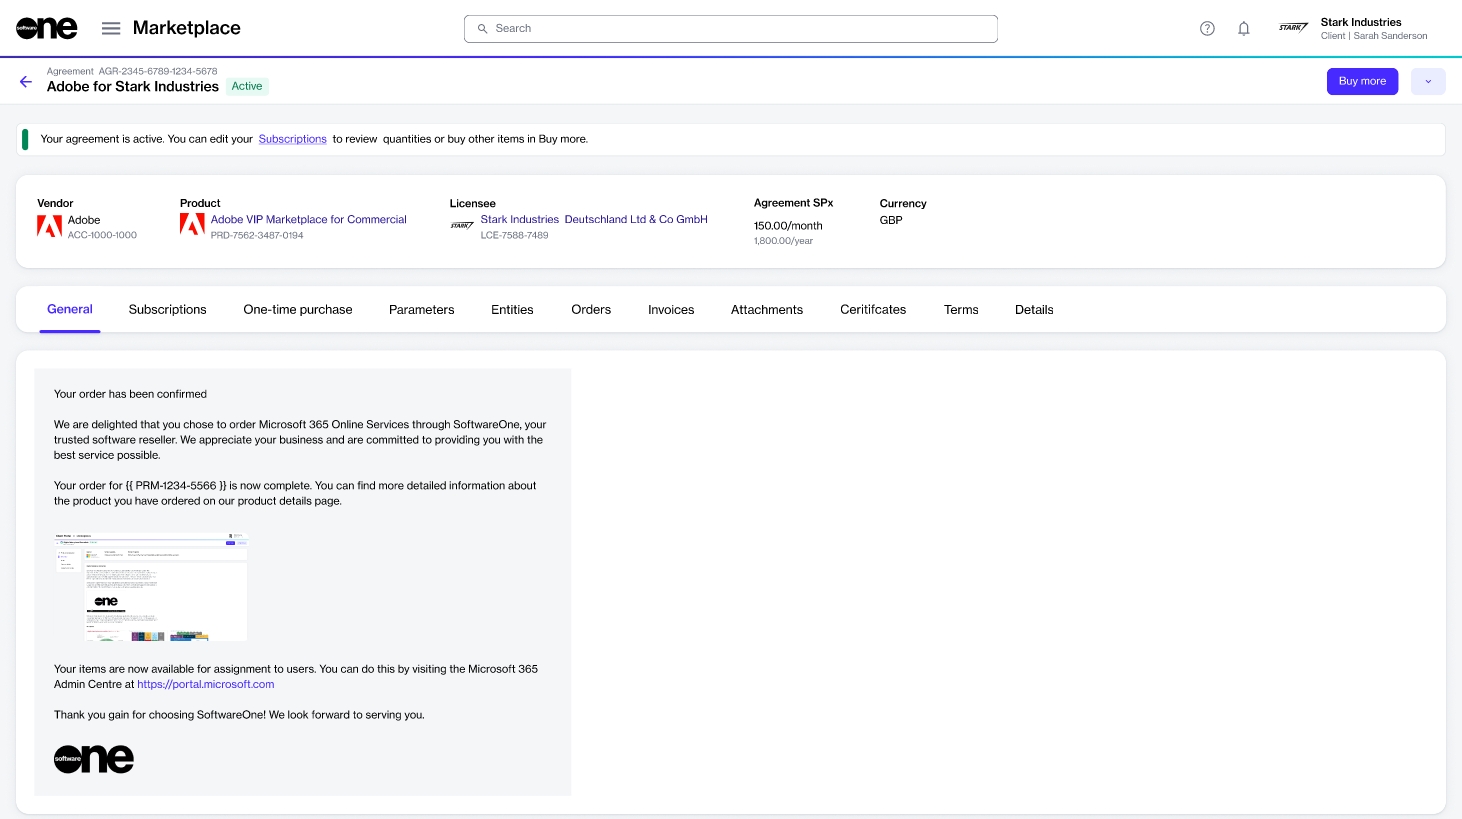
If you want to get detailed information about an agreement, click the agreement.
You'll then be able to view details like the subscriptions linked to the agreement, ordering and fulfilment parameters, the buyer, seller, and licensee entities for the agreement, more.
From the details page, you can also self-manage your agreement and do the following:
The Marketplace Platform is a centralized hub designed to streamline the discovery and ordering of subscription-based software products.
The platform simplifies the complex process of software licensing and procurement, making it easier for you to find and compare products from multiple software vendors in one place. Each product on our marketplace undergoes a process, where vendors define the product including its terms of use, and submit it to SoftwareOne. Products become available for ordering only after they have been accepted by SoftwareOne.
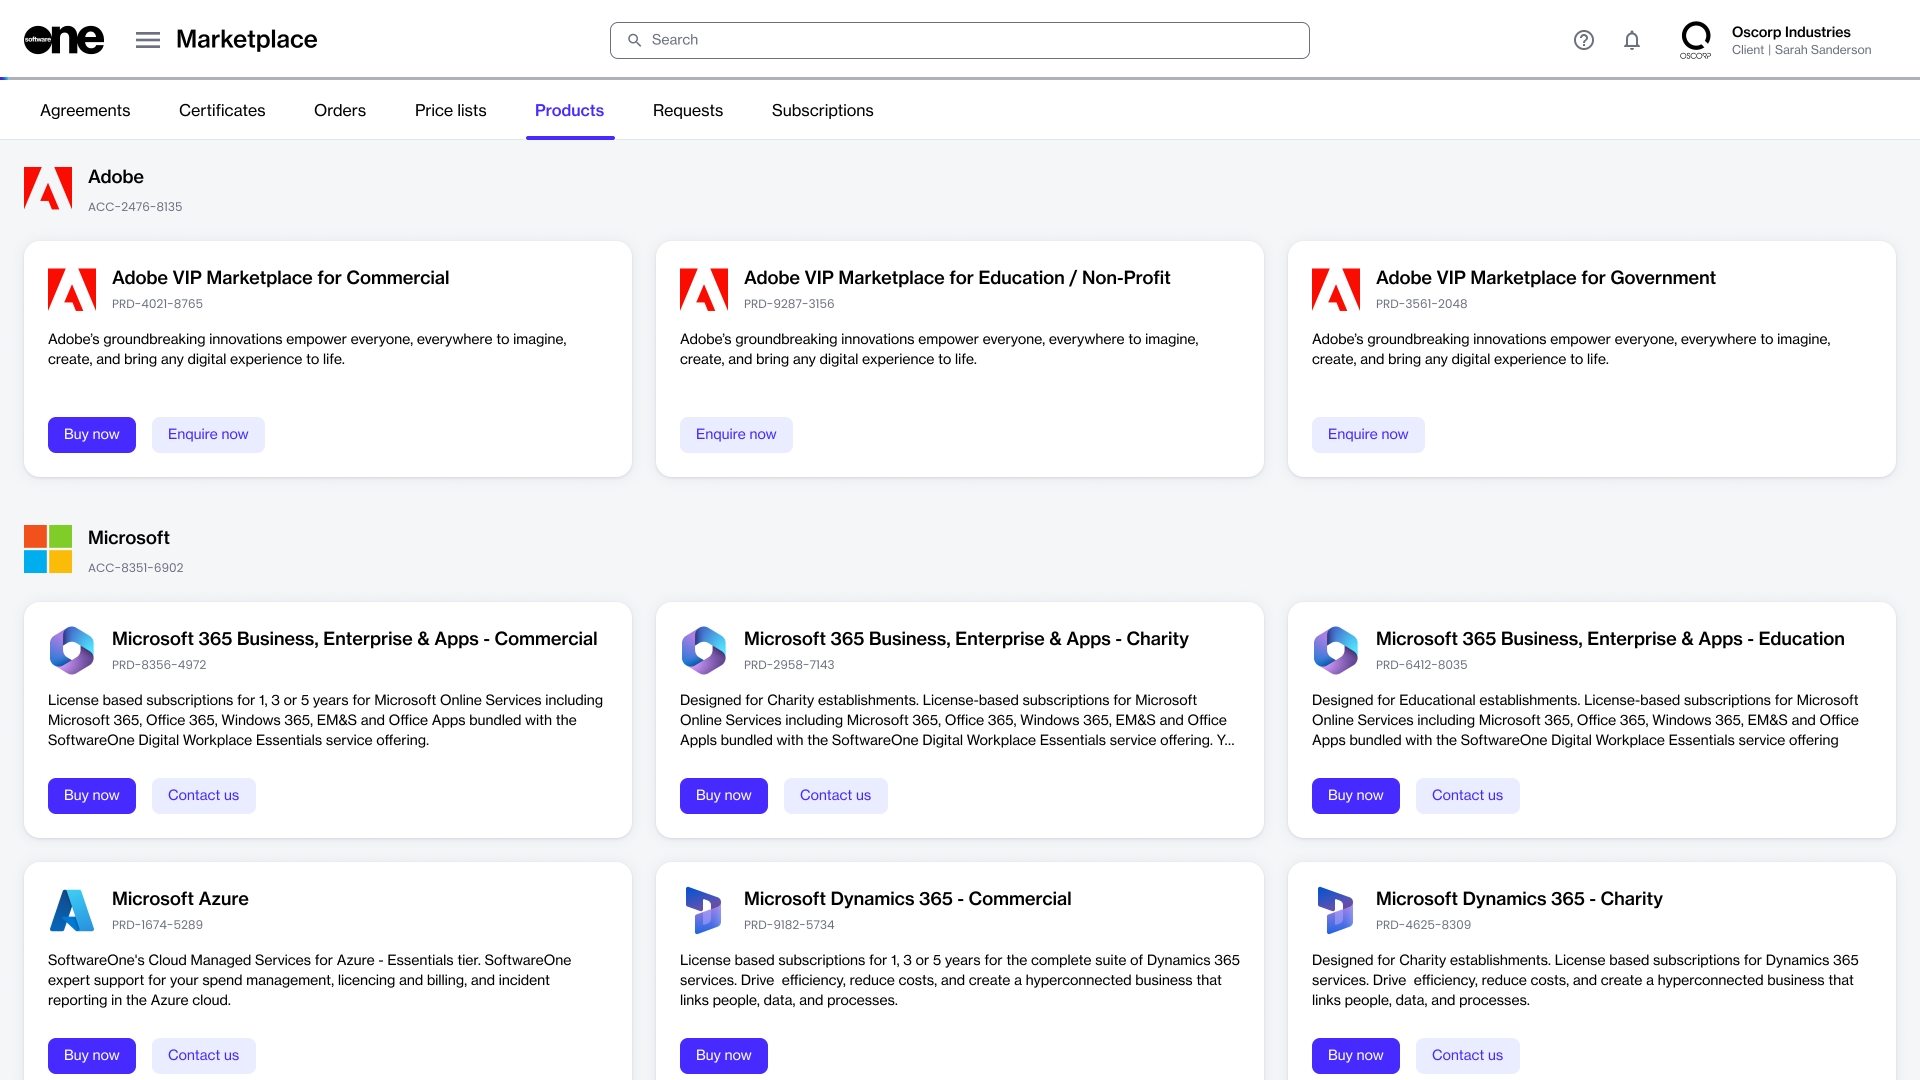
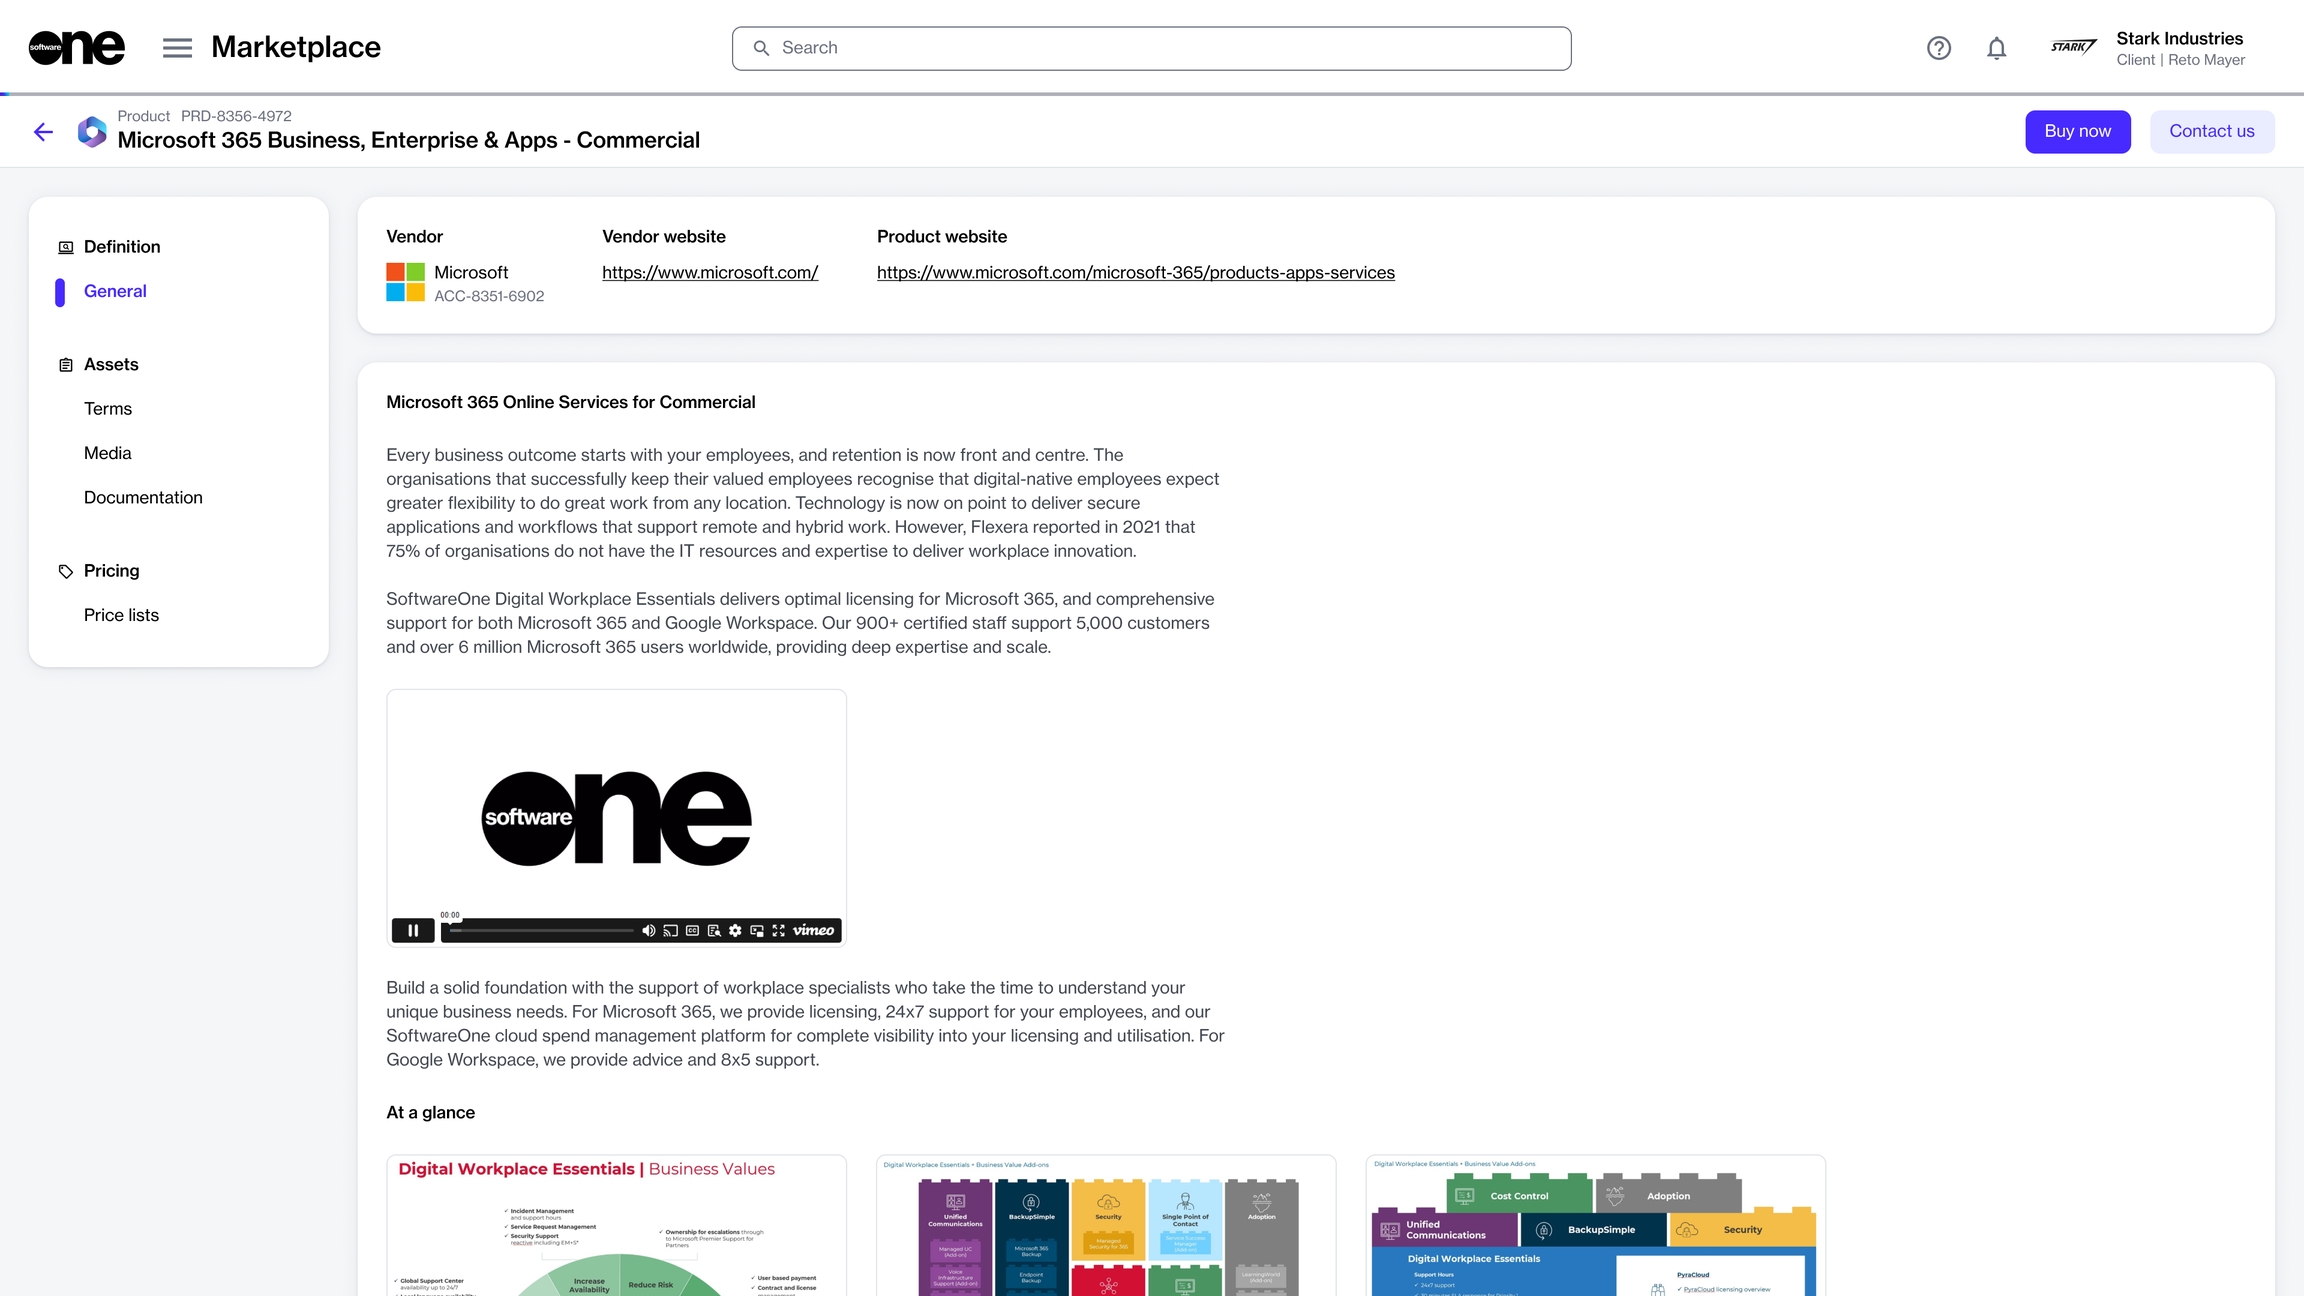
You can access the SoftwareOne Marketplace by signing in to your account and selecting Marketplace > Products from the main menu.
The Products page shows different products that are available for you to order. The products are categorized by the vendor name and displayed in the form of cards.
You can view detailed information about a product by clicking the product name. To learn more, see Products.
When you are ready to start the ordering process, click Buy now in the upper right on the details page.
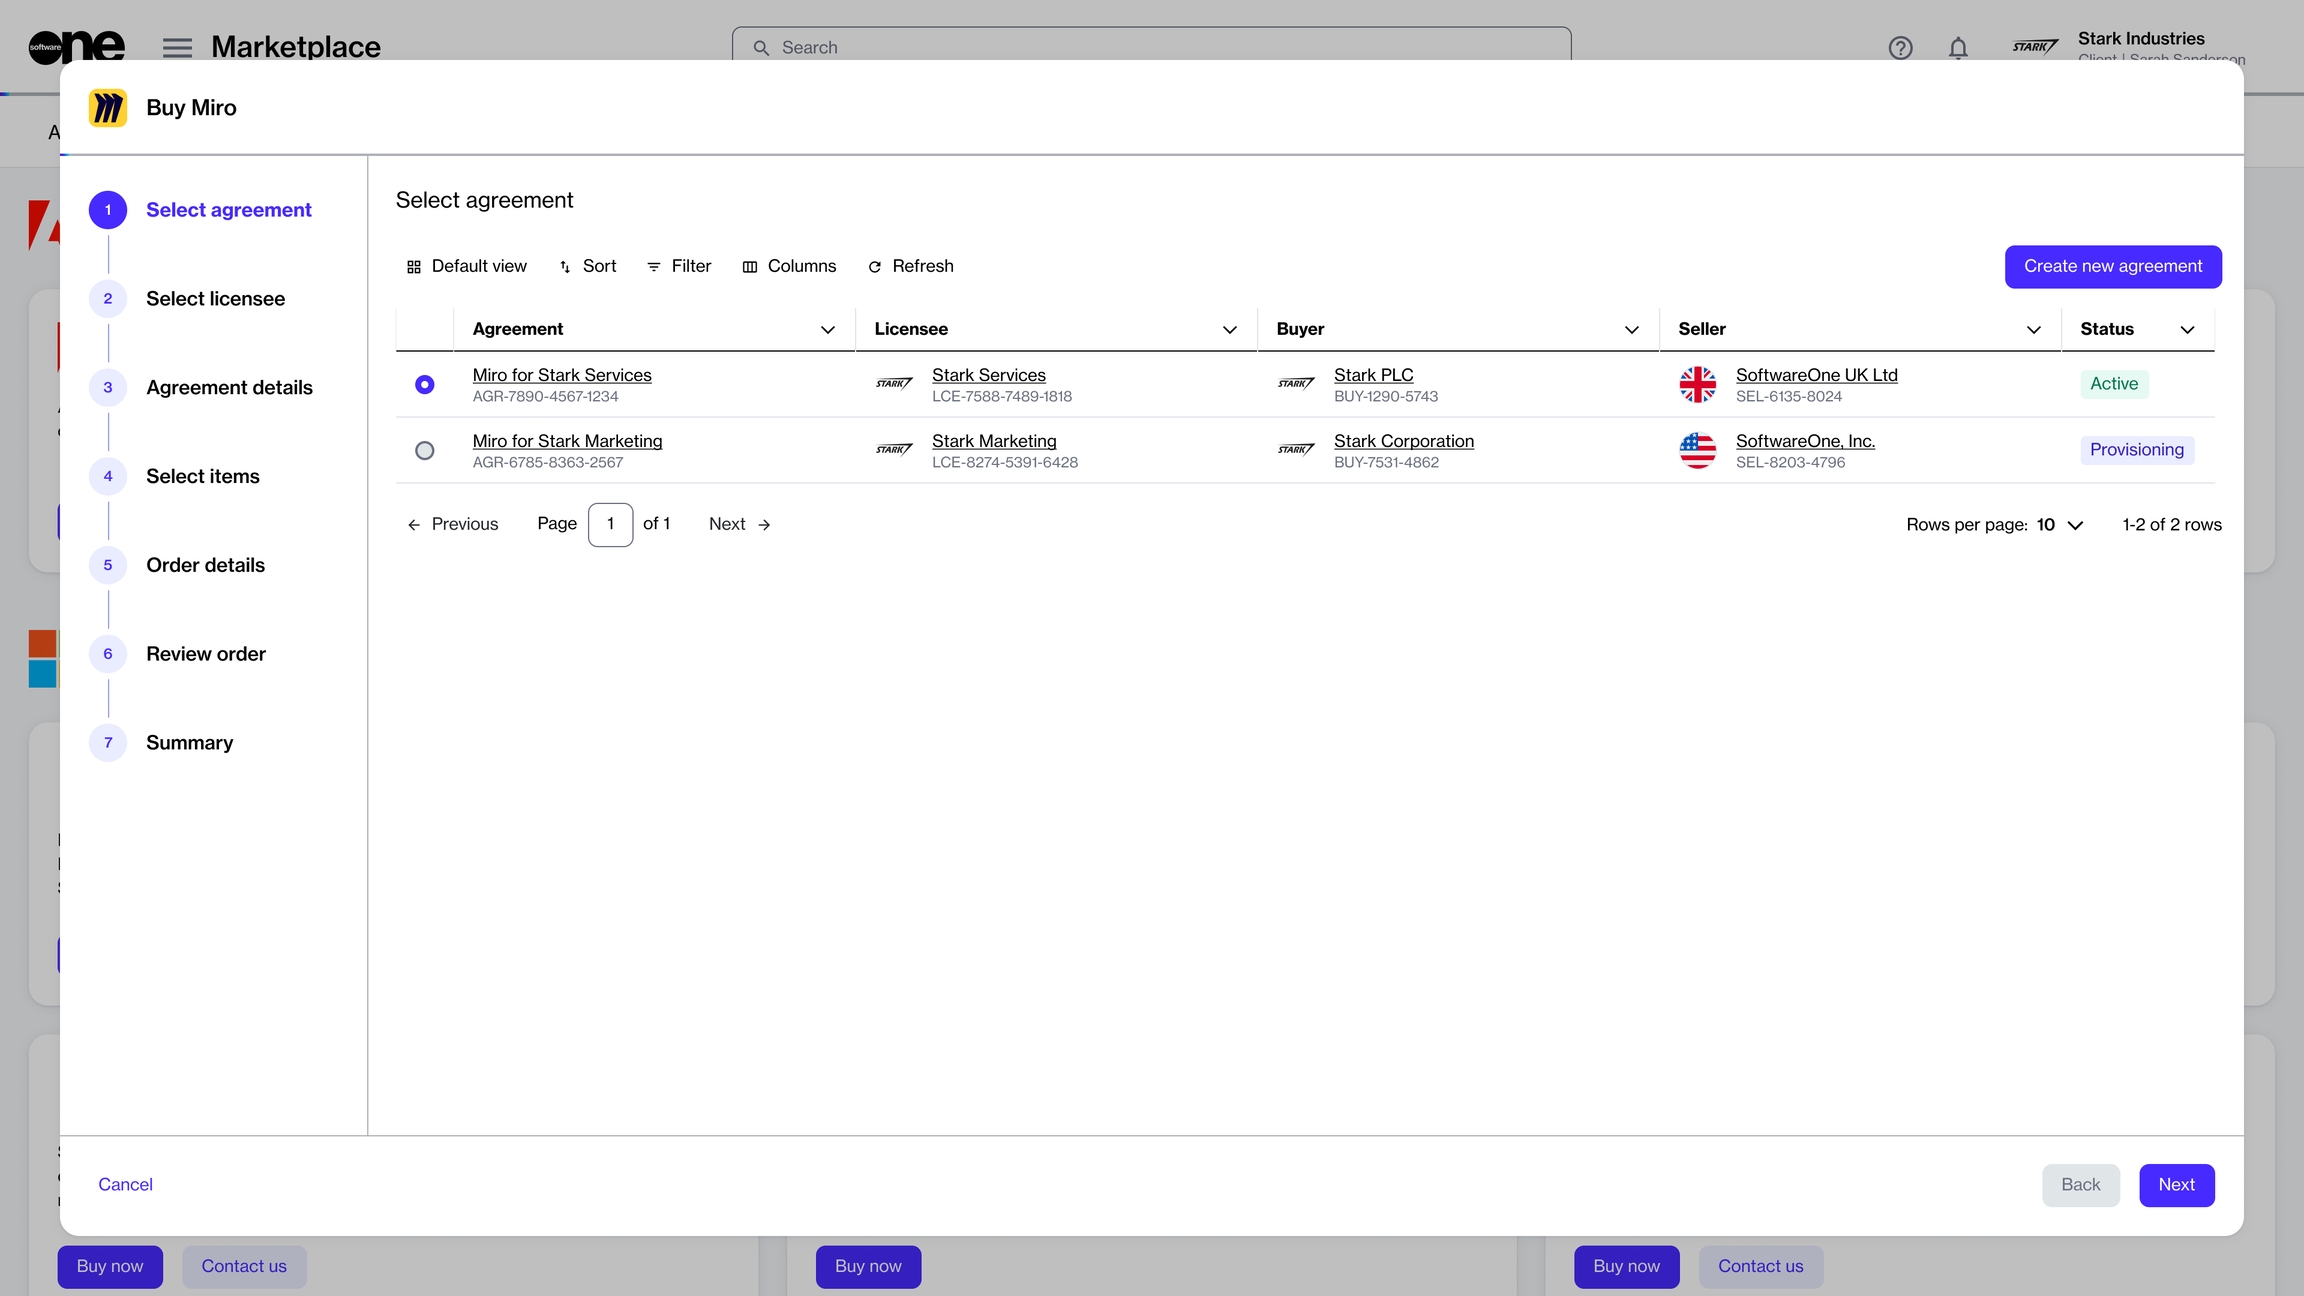
When you click the Buy now button, the Purchase Wizard starts. The wizard is designed to guide you through all the necessary steps in placing your order.
The steps within the wizard will vary depending on the product and the vendor. At a high level, you'll need to complete the following steps:
Select an agreement - You have the option to use an existing agreement or create a new one. The option you select in this step determines the next step in the wizard. For instance, if you create a new agreement, the Select licensee step is displayed. If you use an existing agreement, the Select items step is displayed.
Select a licensee - Choose a licensee from the list of your licensees or create a new one.
Provide agreement details - Fill out the contact form.
Select items - Choose the items you want to order and the quantity of those items.
Additional information - Add the additional IDs for the order and agreement.
Review order - Preview the order details and place your order.
Review summary - See your order summary and the latest status message.
For products, like Adobe and Microsoft, you'll need to complete additional steps when placing the order. For step-by-step guidance on these products, see Adobe Tutorials and Microsoft Tutorials.
How to buy products in the marketplace
Access the catalog, browse products, and place orders.
How to filter your orders
Learn how to use the filter option to find your orders.
Where to find your agreements
Access agreements and all subscriptions within those agreements.
How to manage your subscriptions
View your subscriptions and manage them through the platform.
How to change license quantity
Add or remove subscription licenses.
How to add new items to your agreement
Add a new item to an existing agreement.
How to manage your account settings
View and manage your account settings at any time.
How to split billing across buyers
Allocate billing to different buyers in your account.
How to invite users to your account
Add a user by sending an invite through the platform.
Adobe tutorials
Get step-by-step help with ordering and managing Adobe VIPM subscriptions.
Microsoft tutorials
Find information on how to order Microsoft CSP subscriptions.
Marketplace reference docs
Manage your requests, agreements, orders, and subscriptions.
The Settings module gives you easy access to your account information and lets you manage the settings for your Marketplace account at any time.
Account administrators can access the module by navigating to the main menu in the Client Portal and then selecting Settings.
In your account settings, you'll find various options enabling you to review your basic account details and manage your users, licensees, groups, and other properties.
Use the following links to learn about these options and how to use them:
Account - Update the account information for your organization, such as your account name and logo, company contact information, and address.
API tokens - Create API tokens to access the modules programmatically and manage your existing tokens as needed.
Audit trail - Track all activity within your account and view the audit records.
Buyers - View a list of buyers mapped to your account and enable, disable, or edit buyer details.
Groups - View a list of groups in your account. Add or remove groups and edit groups as needed to easily manage the access permissions for each group of users.
Licensees - Create new licensees and manage your licensees by updating the licensee information, and enabling or disabling licensees.
Sellers - View a list of SoftwareOne entities linked to your account.
Users - Add or remove users from the account, resend invitation links, and edit groups to which the user has access.
Need to update your profile or personal settings?
See Manage your profile to learn about updating your profile picture, profile name, preferred language, and more.
Subscription management through self-service is one of the key features of our platform, providing you with the flexibility to manage your subscriptions.
it means you can easily order new subscriptions, increase or decrease your licenses, and cancel subscriptions. You also have the option to edit the name of your subscription and modify subscription IDs, if needed.
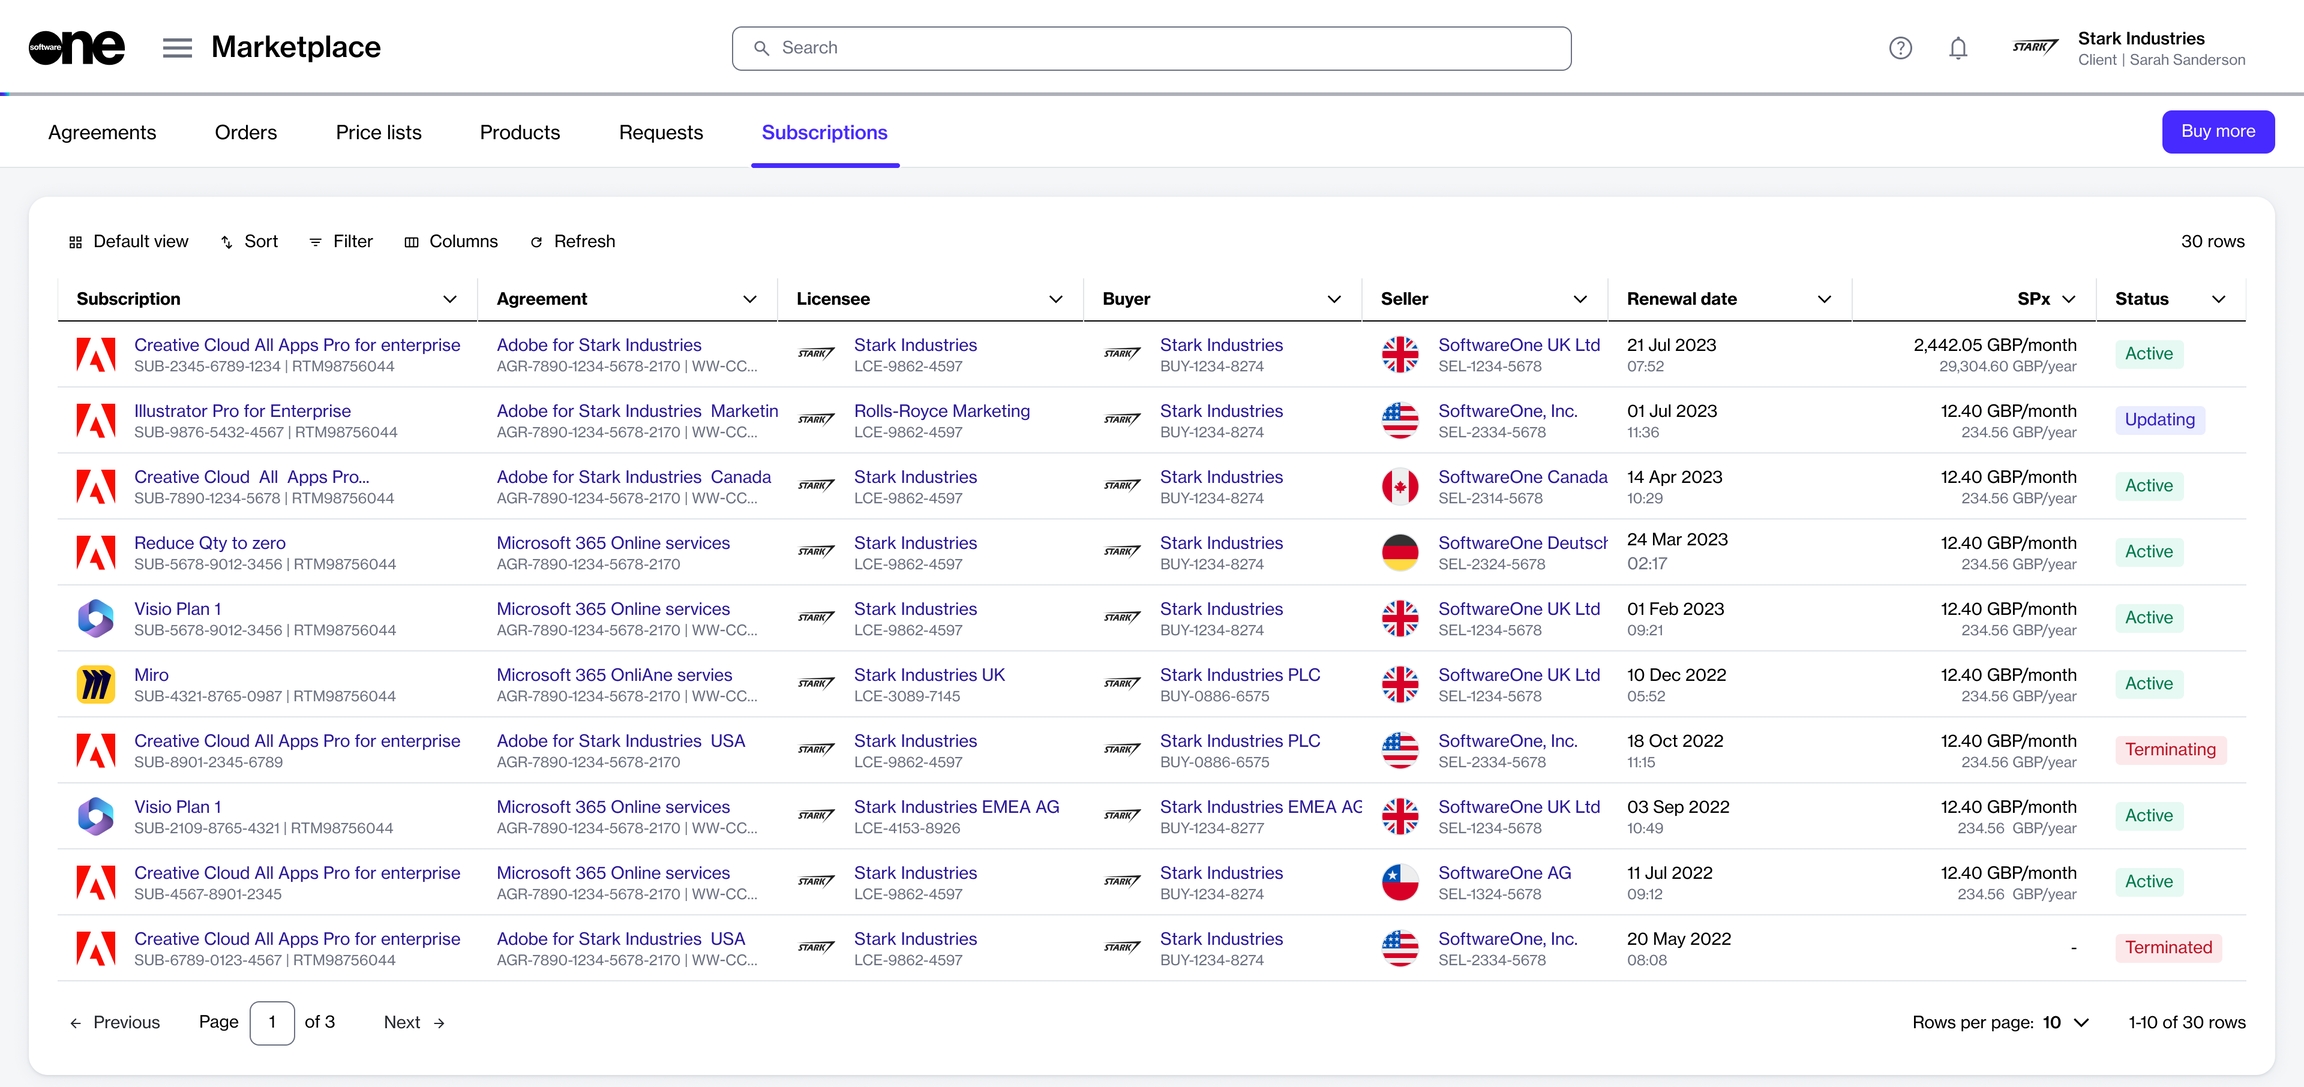
You can view your subscriptions by selecting the main menu of the Client Portal and selecting Marketplace > Subscriptions.
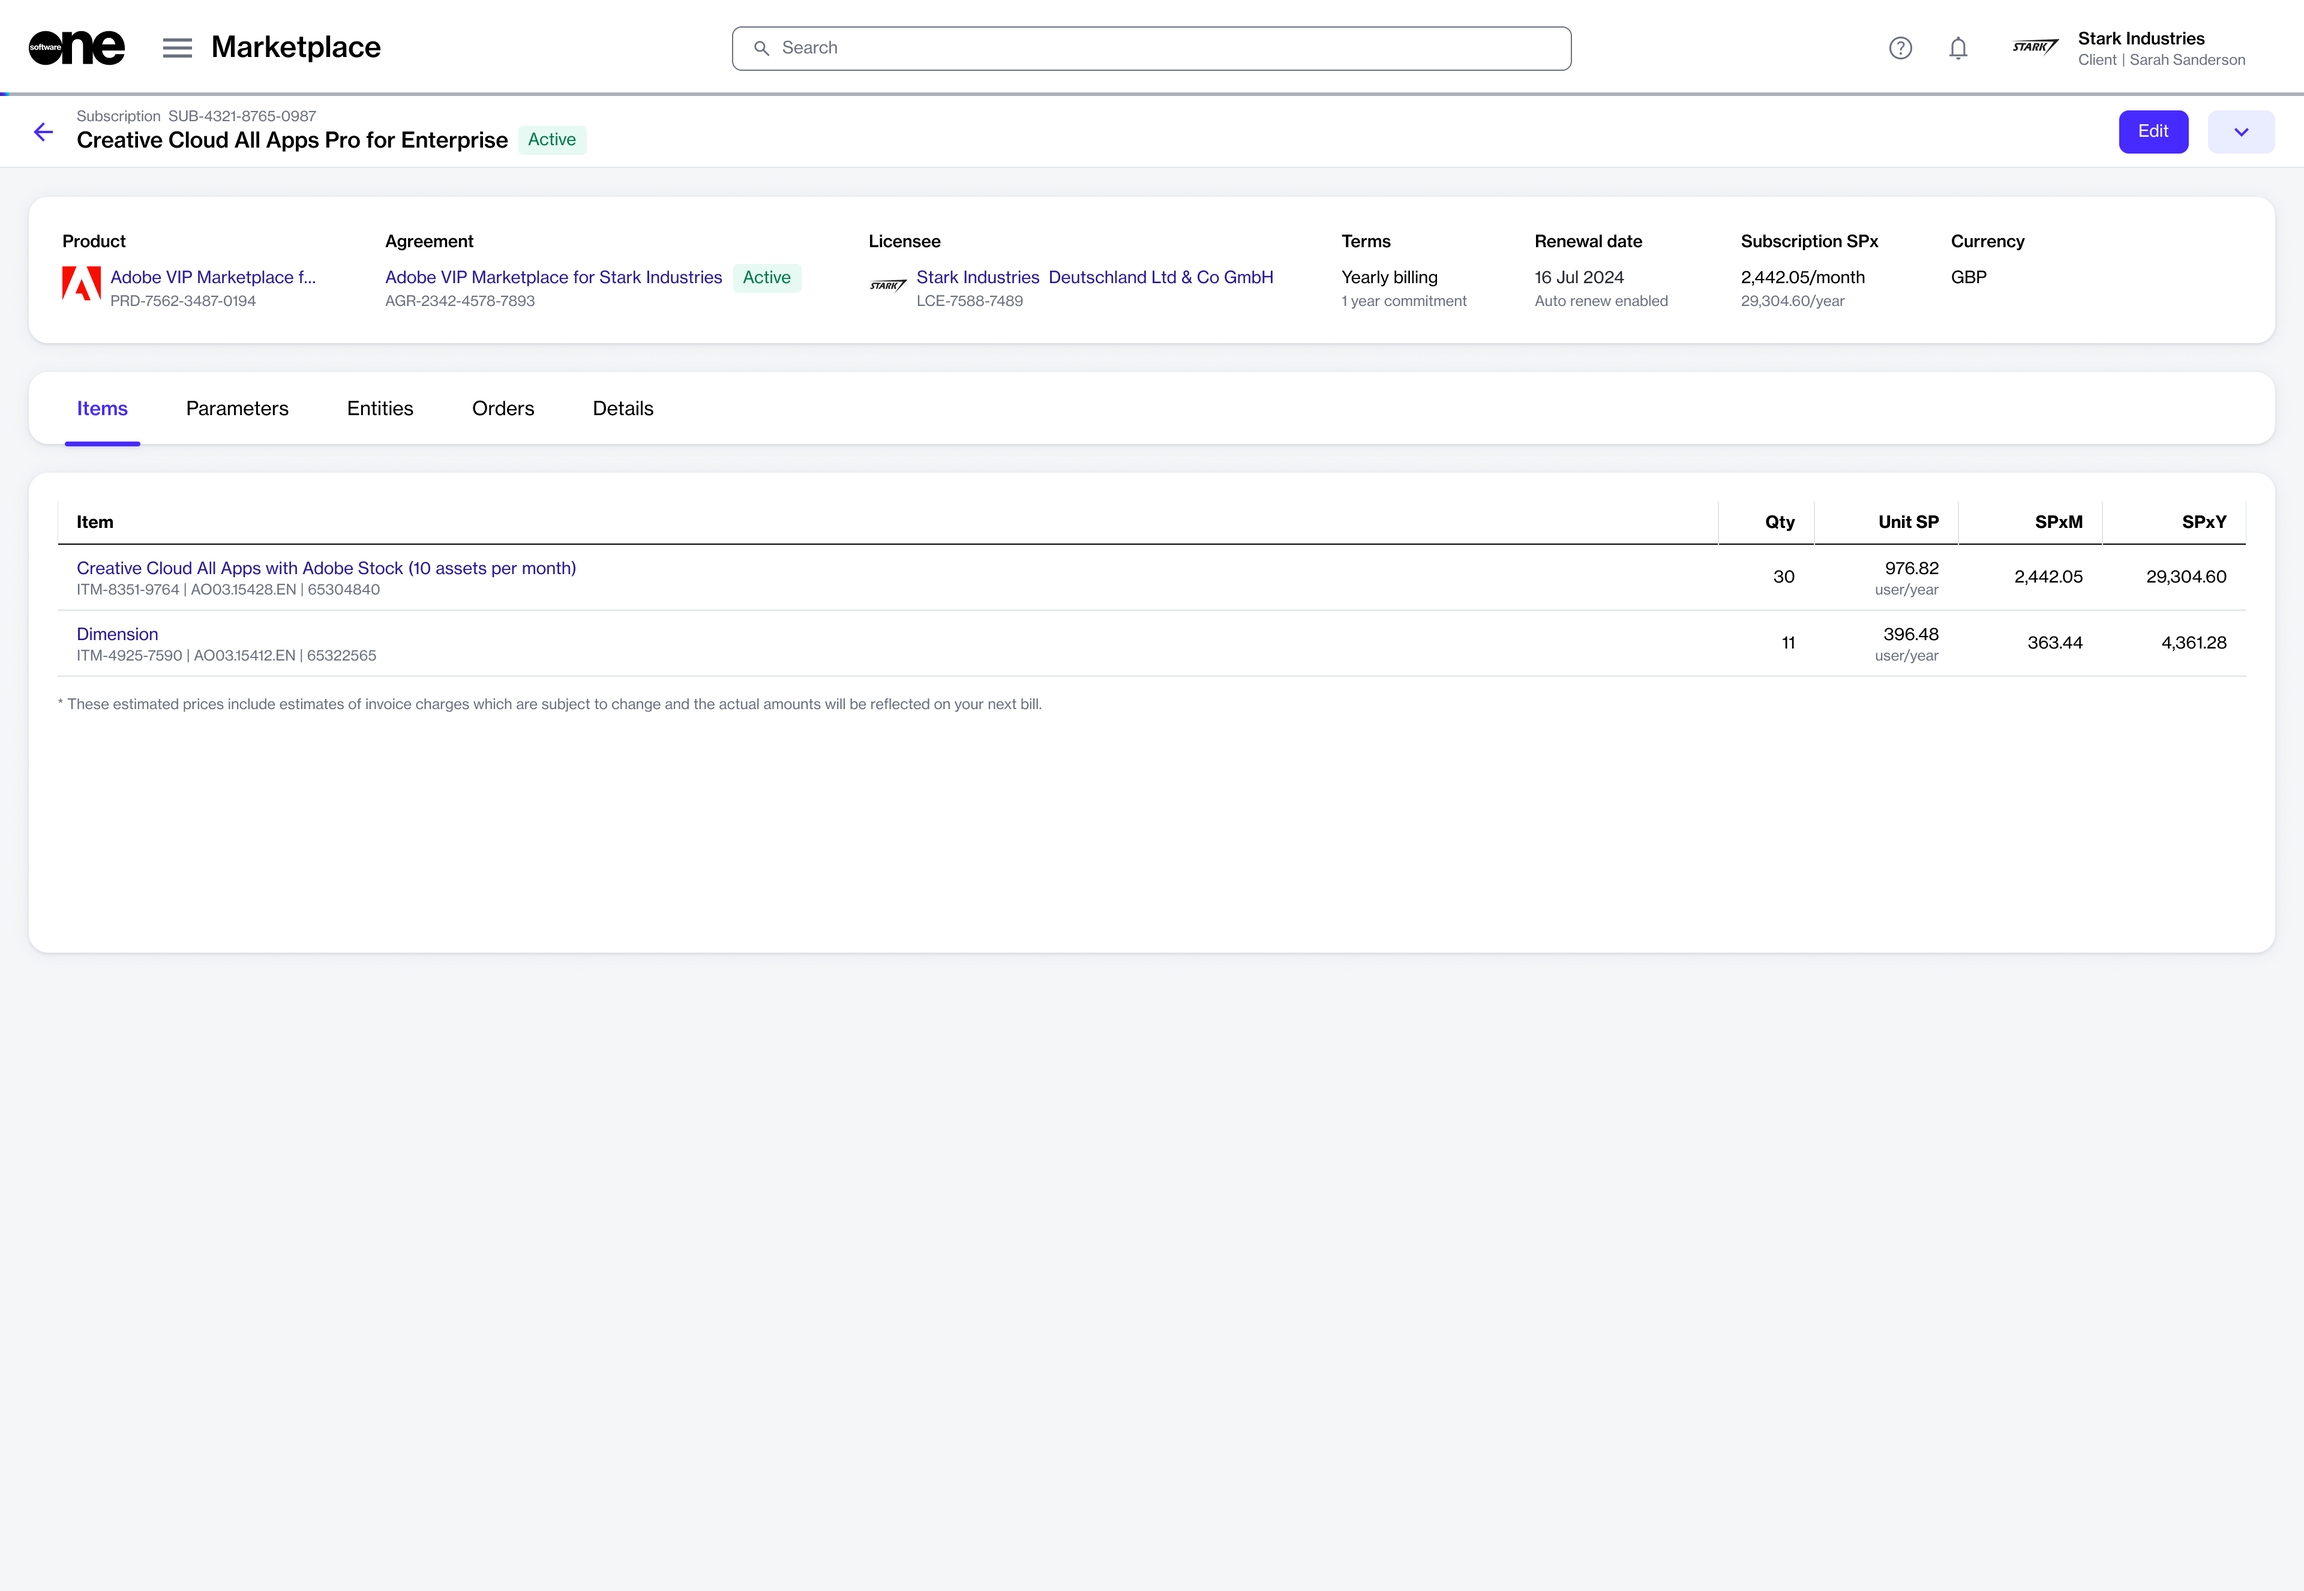
The page displays important information regarding your subscriptions. To view the details of an individual subscription, click the subscription name. For information on the columns that are displayed on this page, see Subscriptions.
You can change the license quantity by creating a change order through the platform.
Change orders are required if you wish to order additional licenses or lower the number of licenses. For information, see How to change license quantity.
You can cancel a single or all subscriptions in an agreement by placing a termination order. Subscriptions cannot be canceled without a termination order.
To cancel a single subscription, use the Terminate option on the subscription details page. For instructions, see Terminate Subscription.
To cancel all subscriptions in an agreement, place a termination order for the agreement. For instructions, see Terminate Agreement.
You can add new items to your agreement using the Buy more option on the agreement details page.
Items can only be added to the agreements in the active state. If the agreement is not active, the Buy more option will be unavailable.
When you click Buy more, the platform automatically detects the agreement and takes you directly to the Items section of the purchase wizard, where you can select the items and complete the ordering process.
Follow these steps to add new items to your agreement:
On the Agreements page (Marketplace > Agreements), select the required agreement. Make sure that the agreement is active.
On the details page of your selected agreement, click Buy more. The purchase wizard starts and the Items step is displayed.
In the Items step, do the following:
Click Add items. A new window (also called Select items) will open displaying the available products that are available for you to order under this agreement.
Select the checkboxes for the items you want to order. You can use filters to find the items easily. When selecting items, be sure to verify the billing terms and the duration of the subscription.
Click Add items. Your selected items are added to the agreement, and the Select items step is displayed again.
Set the quantity of your newly added items in the New qty field and click Next.
In the Details step, add the additional ID and notes for your order and click Next. Note that it's optional to provide these details.
In the Review order step, verify the information and click Place order to finalize placing your order.
Click View details to go to the order details page or click Close to close the page.
A change order is created for the agreement and sent to the vendor for fulfillment. You can check the status of your new order on the Orders page or in the Orders tab on the agreement details page.
Note that once you place the order, the agreement status changes from Active to Updating. It means that the agreement is temporarily locked, and no further orders can be placed under this agreement until the current change order is completed.
The Marketplace Platform gives you the flexibility to add or remove licenses at any time.
If you need more licenses, you can alter the subscription to add additional licenses. You can also lower the number of licenses if you no longer require all of your ordered licenses.
When reducing the number of licenses, the following rules apply:
If your subscription contains only one item, you can't lower the quantity of this item to zero. In this case, you must terminate the subscription.
If your subscription contains multiple items, at least one item must have a quantity greater than zero. You can't change the quantity of all items to zero.
Follow these steps to add or remove licenses from a subscription:
On the Subscriptions page (Marketplace > Subscriptions), select the required subscription.
On the subscription details page, click Edit in the upper right.
In the Edit subscription wizard, set the quantity in the New qty field. The sales price of the subscription changes as you adjust the quantity. Click Next.
Update the reference ID and add your comments in the Notes field. Click Next.
Preview the changes and click Place Order to finalize the quantity adjustment.
A change order is created in the system and sent to the vendor for processing. The order is also displayed on the Orders page.
When the change order is being processed, the status of the subscription and the agreement changes to Updating. This indicates that the agreement is temporarily locked, and no further orders can be placed under this agreement until the change order is completed.
Account administrators can invite new users to the account from the Users page under Settings in the main menu.
They can invite existing platform users and individuals who don't yet have an account.
When an administrator adds someone to the account, an invitation to join is emailed. It's important to take action once you receive the invitation, as account invitations are valid for only 7 days from the send date. After 7 days, invitations expire and will need to be resent.
Administrators can invite users through the Add option, which is located in the upper right on the Users page.
In Add user, complete the required sections. You'll need to enter user details, such as the user's full name and email address, and select the groups you want to assign to the user.
Next, confirm the information displayed on the Overview page, and then click Add. For detailed instructions, see Add New Users.
The individual will receive an email invitation, which they must accept within 7 days to join the account. To learn about accepting invites and account registration, see Respond to Invitations.
Split billing is a feature that allows you to divide the cost of a subscription across different buyers in your account. If your organization has multiple legal entities, split billing can be used to distribute costs effectively. To learn more, see Split Billing.
In the Marketplace Platform, the split billing process begins by activating the feature from the user interface (UI), selecting buyers for allocation, and then specifying each buyer's allocation percentage or license count. This tutorial describes how to complete all of these steps.
In this tutorial, an agreement named Adobe VIP Marketplace for Stark Industries contains three subscriptions. Currently, 100% of the billing for these subscriptions is assigned to a single buyer named Stark Industries. We'll activate split billing, add two new buyers named Stark Industries II and Stark Industries III, and then specify the allocation percentage for these buyers.
Before getting started with the tutorial, it's essential to have an understanding of the platform's key concepts. You must also be familiar with the platform's interface and know how to navigate it.
Split billing can only be activated at the agreement level. To activate split billing:
Navigate to the Agreements page and select the required agreement.
In the Split billing dialog, select the checkbox and then click Save.
Split billing is activated and the Split billing tab appears on the agreement’s details page. You are now ready to configure buyers to allocate billing to.
In this tutorial, Stark Industries is the Owner buyer who has been allocated 100% of the billing.
We'll configure Stark Industries II and Stark Industries III as additional buyers and then divide the costs across buyers. To start configuring buyers:
On the Split billing tab, click Edit.
In the Split billing dialog, use the checkboxes to select the buyers from the list of your active buyers and then click Save.
Stark Industries II and Stark Industries III are added as buyers and displayed on the Split billing tab. You are now ready to allocate billing to these buyers.
Billing can be allocated by specifying percentages for each buyer. You can also specify the estimated license count. Both of these options are linked, meaning changing one updates the other automatically, although only the allocation % is used during billing (see Split billing rules to learn more).
To start configuring the split for each buyer:
In the Actions column for the Owner buyer, click Details.
For the required subscription, click Edit.
This example agreement contains three subscriptions, but we'll only configure allocation for the first subscription called Creative Cloud All Apps with Adobe Stock.
In Allocation %, enter the allocation percentage for each buyer and click Save.
In this example, 50% of billing is allocated to Stark Industries (owner buyer) and the remaining 50% to Stark Industries II. No percentage is assigned to Stark Industries III.
The allocation is updated and displayed on the Split billing details page. By default, the allocation for the owner buyer is displayed:
Use the Buyer menu at the top to view the allocation for the other buyers (Stark Industries II in this example):
Click Close. You'll be returned to the Split billing details tab.
If you have additional subscriptions and want to split the billing, you can repeat the same steps for those subscriptions. You can also edit the split at any time. For instructions, see Edit Split Billing.
On the details page of the agreement, click the down arrow in the upper right and select Split billing.


