Order Microsoft 365 Subscription (New Tenant)
Last updated
Was this helpful?
Last updated
Was this helpful?
This tutorial walks you through the steps required to order a Microsoft 365 subscription by setting up a new agreement.
In this scenario, you'll be setting up a new Microsoft tenant.
Before starting this tutorial, make sure you have the following:
Your company details, like the company name, registration ID, and address. These details are required for creating a new Microsoft tenant.
The contact details of the person who will manage your Microsoft account.
On the Products page (Marketplace > Products), select Microsoft 365 Business, Enterprise & Apps - Commercial.
Click Buy now in the upper right on the details page. The purchase wizard starts and the Select agreement step of the wizard is displayed.
Click Create agreement to set up your new agreement in the platform.
Click Next.
Select Create new cloud account to create a new organisation tenant with Microsoft and establish a relationship with SoftwareOne.
Click Next.
(Optional) Click Access tenant name availability tool to check if the name you want to provide for the new Microsoft cloud account is available.
Enter the tenant name you want to use on the onmicrosoft.com domain. Make sure that the name doesn't include punctuation marks or spaces.
Click Next. The platform validates the details you entered.
Fill out the contact form and click Next. You'll need to provide the following details:
Company name.
Company registration ID or tax number.
Company address, including city and zip/postal code.
Contact details of the person who will manage your account.
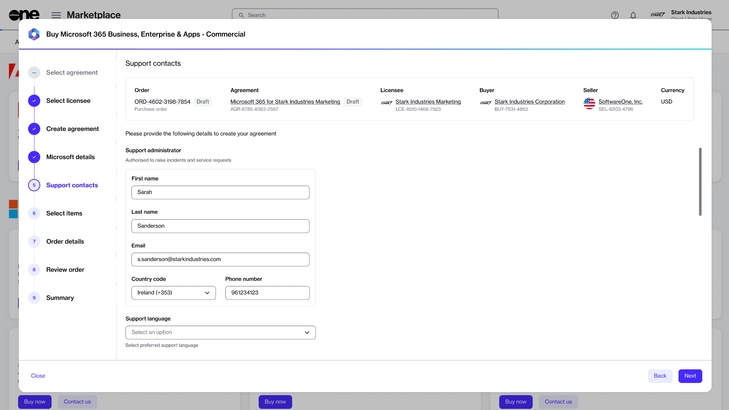
Enter the contact details of your support administrator and choose your preferred support language.
Click Next.
Choose the items you want to order and then click Add items. You can select multiple items. When the items are added, the Select items section is displayed.
Review and adjust the license quantity as required and click Next to continue.
Add the additional IDs and notes associated with this purchase, and click Next.
Review the details of your order. Make sure to read the terms and conditions associated with this purchase, including the privacy statement. By placing the order, you accept all terms.
Click Place order to complete your purchase.
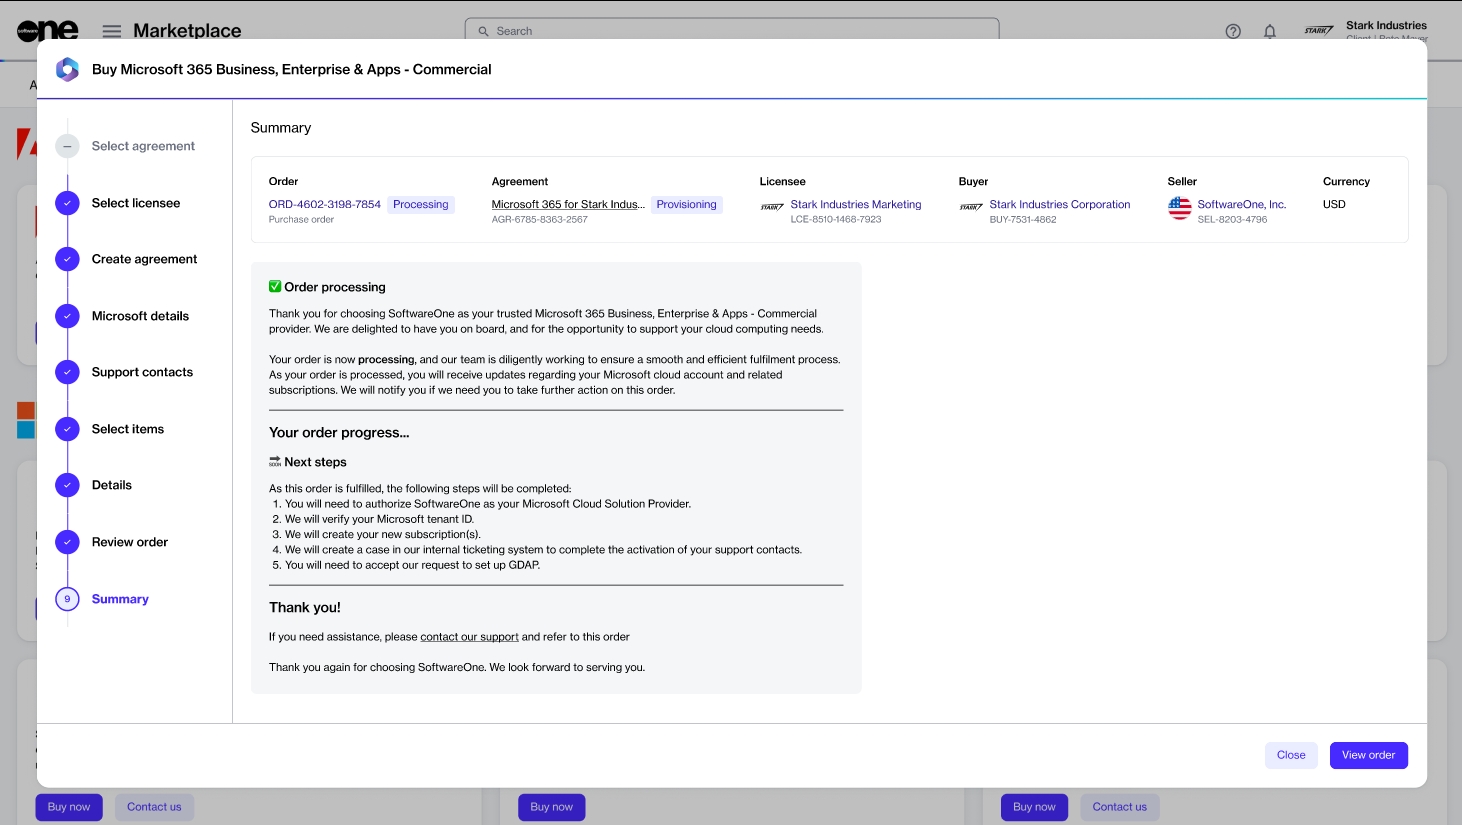
View your order summary and the latest status message. Click View Order to navigate to the order details page. Otherwise, click Close to close the Summary page.
After your order is submitted for processing, we'll confirm your Microsoft tenant and create your new subscription.
A licensee in the active state or permission to if you don't want to use an existing active licensee. Licensee selection is required when setting up a new agreement.
Choose the licensee you want to use for this agreement. In this tutorial, we'll select an existing licensee, but you can add a new licensee by clicking Add licensee. For more information, see .


