Create Custom Groups
You can create, remove, and manage custom groups.
Was this helpful?
You can create, remove, and manage custom groups.
Was this helpful?
Follow these steps to create custom groups:
From the main menu, navigate to Cloud tools > Custom Groups.
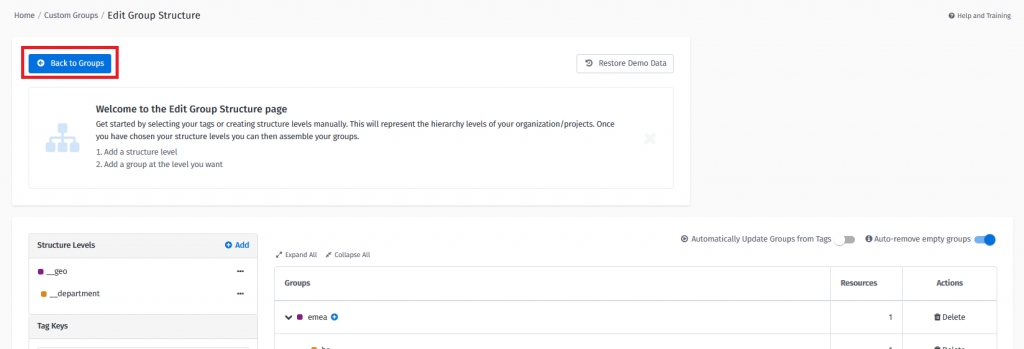
Click Create a group to start building the group structure.
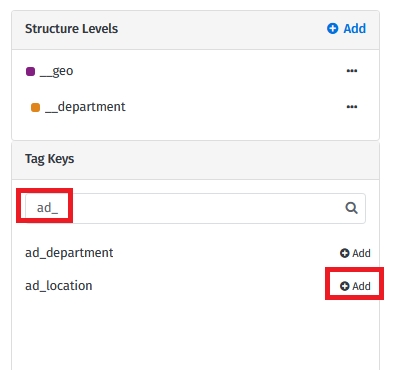
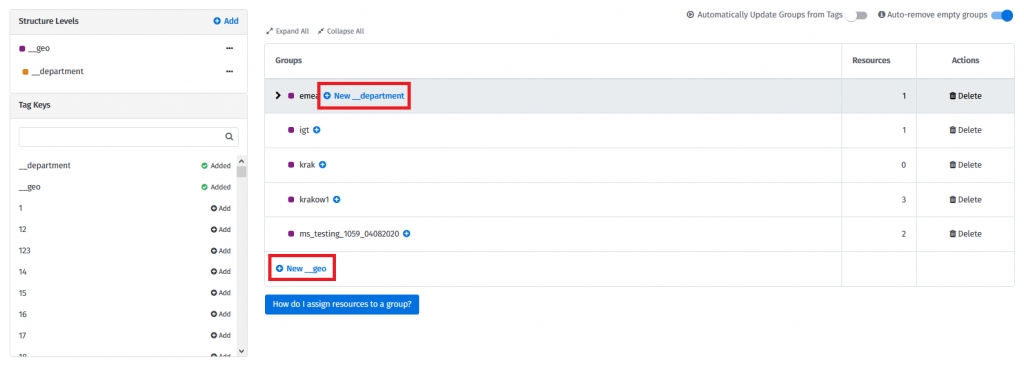
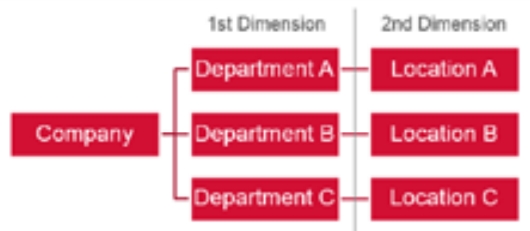
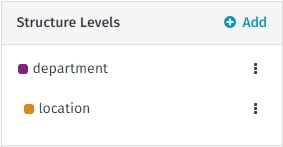
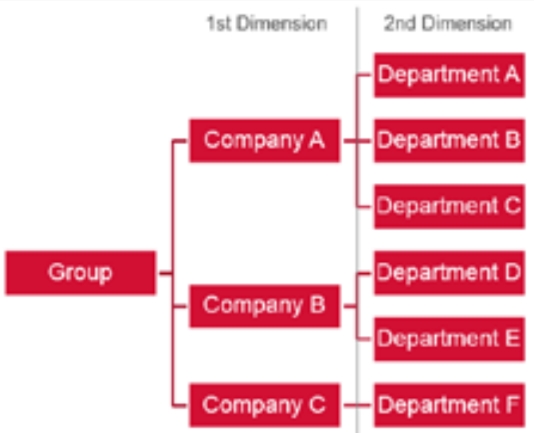
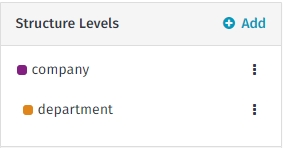
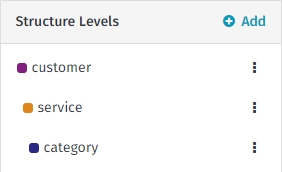
On the Edit Group Structure page, set up the structure levels. Choose Tag Keys as Structure Levels.
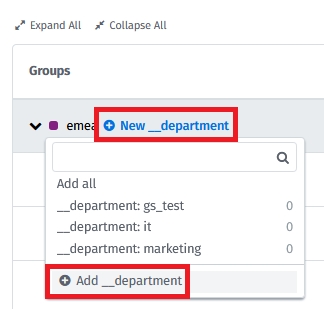
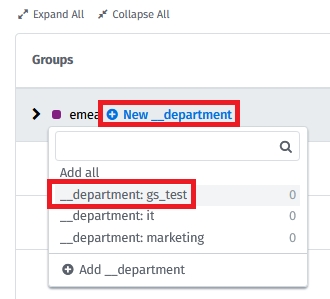
Assign groups to the created structure levels. To create the groups, choose the New group functionality for the required structure level:
You can create groups using already existing tags or manually.
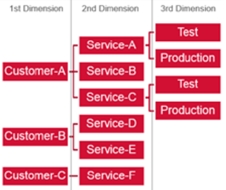
Example
Default Customer
Enterprise Customer
Service Based
It is possible to create Custom Groups automatically. The system can create groups for you based on existing tag combinations that match the defined structure levels.
Enable the following option when editing the structure for this automation:
If groups do not exist, they will automatically be created if automation is enabled and there is a matching tag combination in your infrastructure. This process constantly runs in the background. The group will also be created once you modify resource tags in Resources or you use Resource Rules. The mechanism does not automatically remove any existing groups.
When the automation is enabled, it is not possible to remove a group with resources assigned. Such a group would immediately be created again.
Enable the following option to allow the system to automatically remove groups without resources and budgets:
Once enabled, the system will periodically scan your structure and remove groups that have no resources assigned and no budgets created.
Consider this setting if you want to have your structure maintained fully automatic.
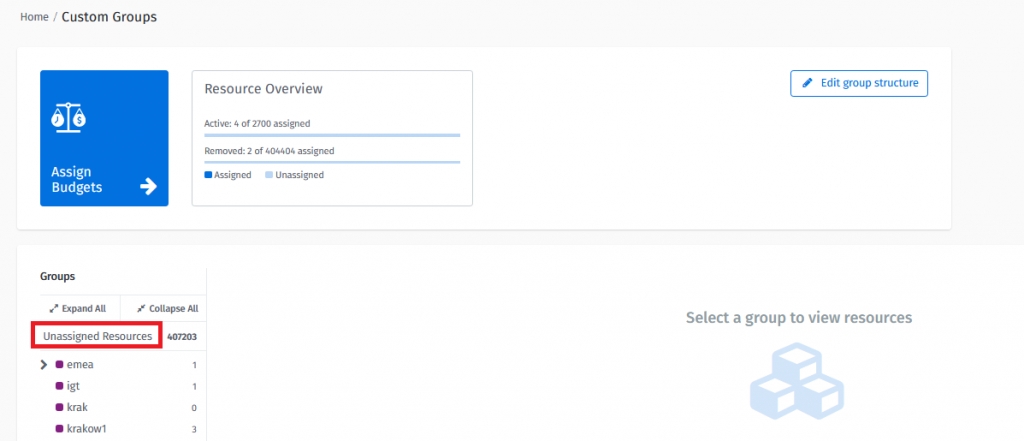
Once the structure has been created, users can go back to Custom Groups to see all resources:
You will see the view shown below. The next step is to navigate to “Unassigned Resources”:
In unassigned resources, users will find all resources that are not assigned to groups.
Users can use filters to find resources in order to assign them to a specific group.
There are two possible ways to group resources:
Assign resources to a group.
Assign resources to multiple groups
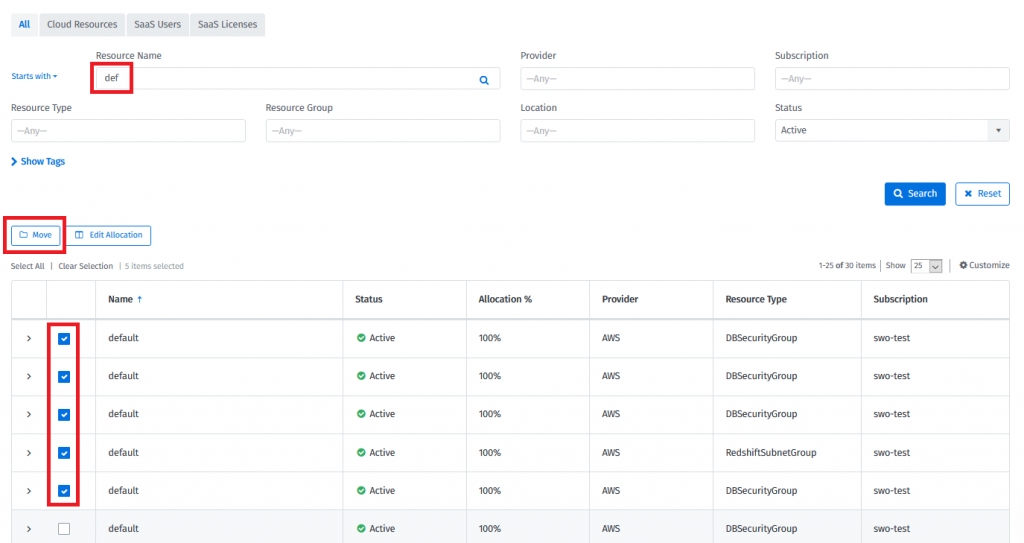
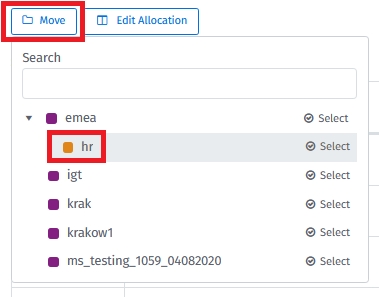
If required, search for the resources. Then select the check boxes of the resources, click on “Move” and select the group:
Those resources are now assigned to the selected group and their entire resource spend will be fully associated with this group.
Assigned resources receive tags that reflect the group assignment structure. As an example, the resources assigned to group “Location-A” have the following tags:
Assigning resources to multiple groups means that the spend of such resources will be split between selected groups according to the way users specify.
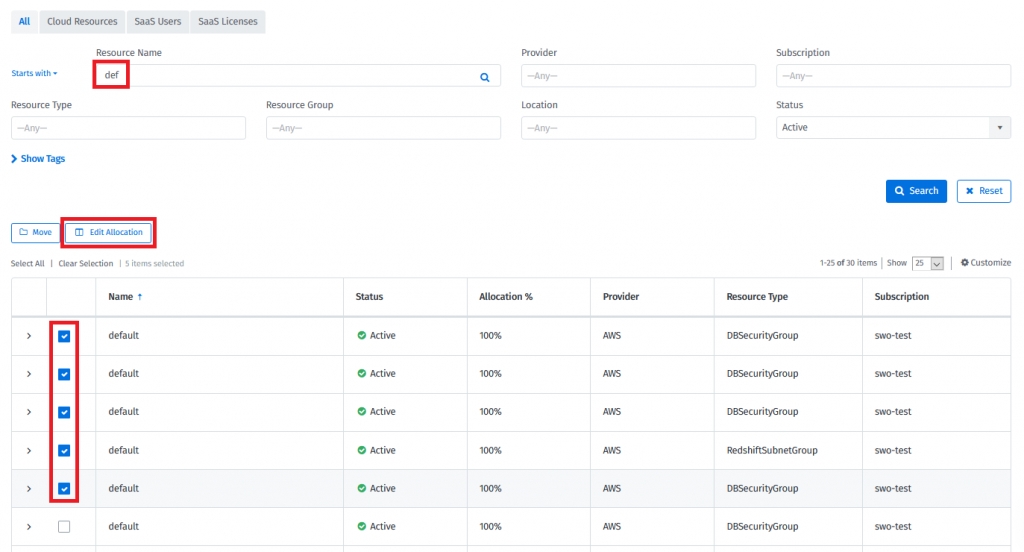
If required, search for the resources. Then, select the checkboxes and select Edit Allocation.
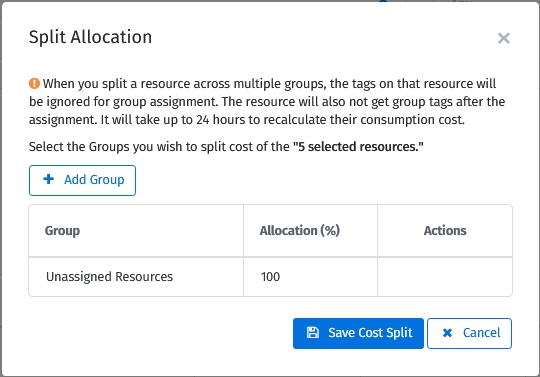
Specify the split details on the Split Allocation page:
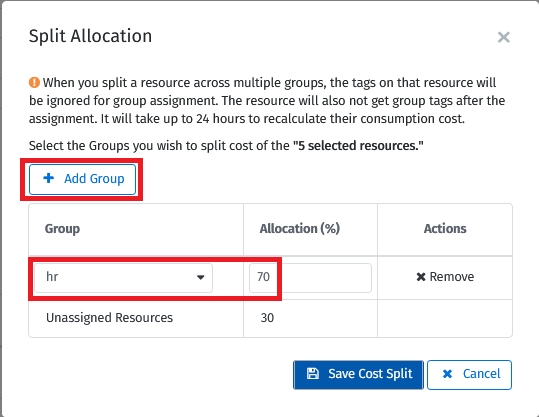
Select the groups and provide an allocation percentage for each group.
Repeat the step to select groups and specify the allocation percentages. If this is done, select Save Cost Split:
The cost of those resources split will be assigned in the following way:
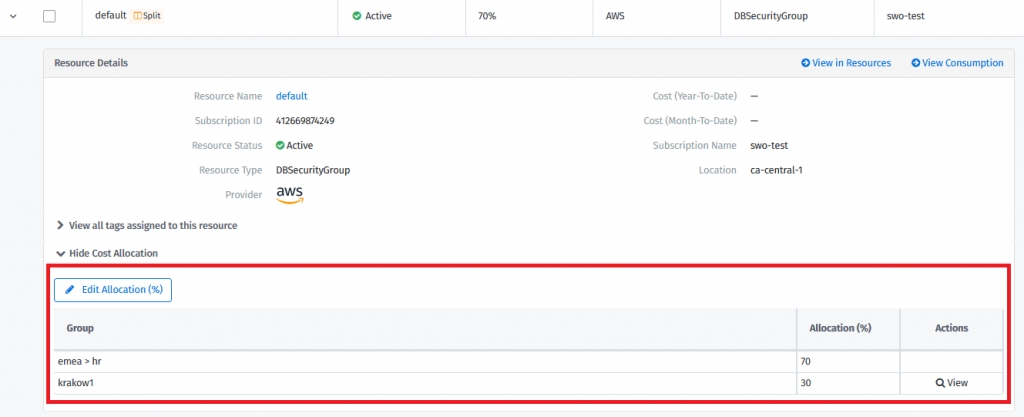
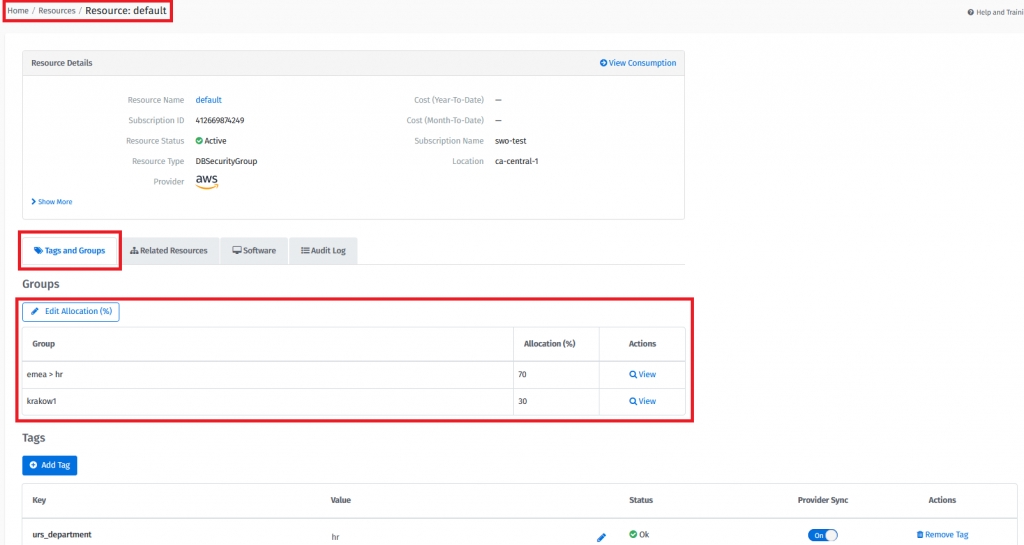
70% of the cost is assigned to the group emea > HR
30% of the cost is assigned to the group: krakow1
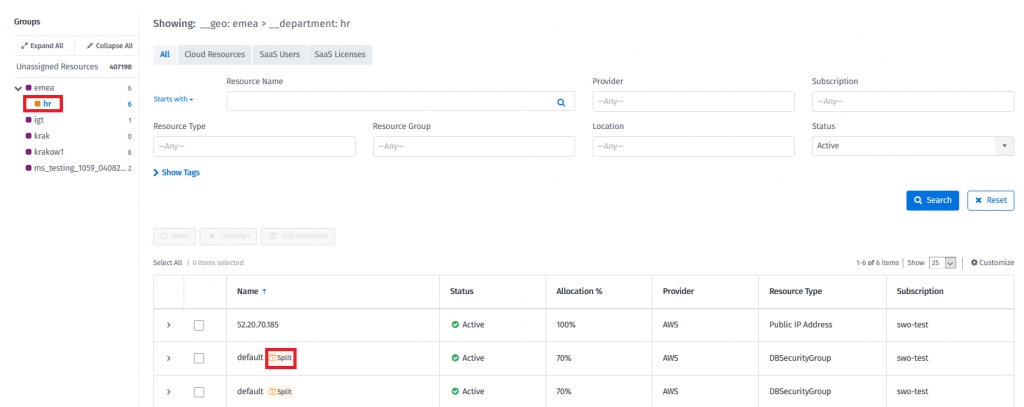
Users can see the split resources assigned to the groups provided. They are marked with the “Split” icon.
Resource group assignments can be managed through the following modules:
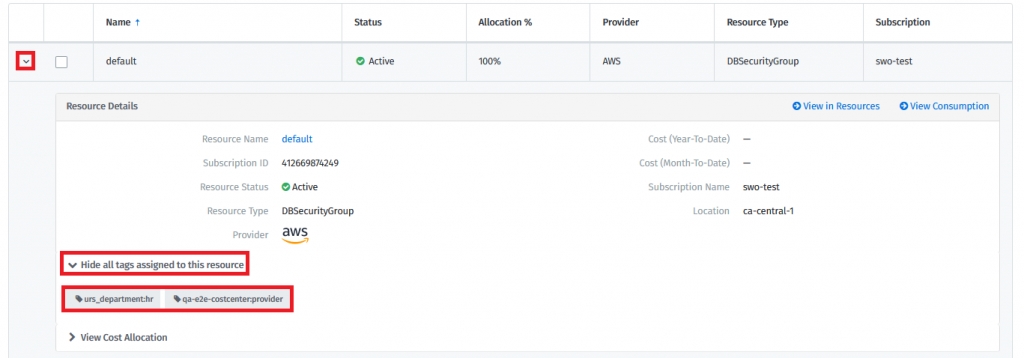
Custom Groups - Go to the details of a resource and select View Cost Allocation.
Resources - Go to the selected Resource Details page. Resource group assignment information is provided in the Groups section.
