Add New Products to Your CSP Agreement
This tutorial walks you through the steps required to add a new Microsoft product to your CSP agreement.
In this scenario, we’ll be adding Microsoft Power BI, but you can follow these instructions to add any Microsoft product to your existing agreement.
Prerequisites
Before starting this tutorial, make sure that the CSP agreement you want to add the product to is Active. You can check the agreement status on the Agreements page as well as its details page.
You should also know how to navigate the platform to access your agreements & orders and apply filters.
Adding new products to your CSP agreement
Navigate to the Agreements page
The Agreements page is located under Marketplace in the main navigation menu. The page displays all your agreements.
Open your relevant agreement
From the list of products, select the agreement you want to use. Make sure that the agreement's status is Active.
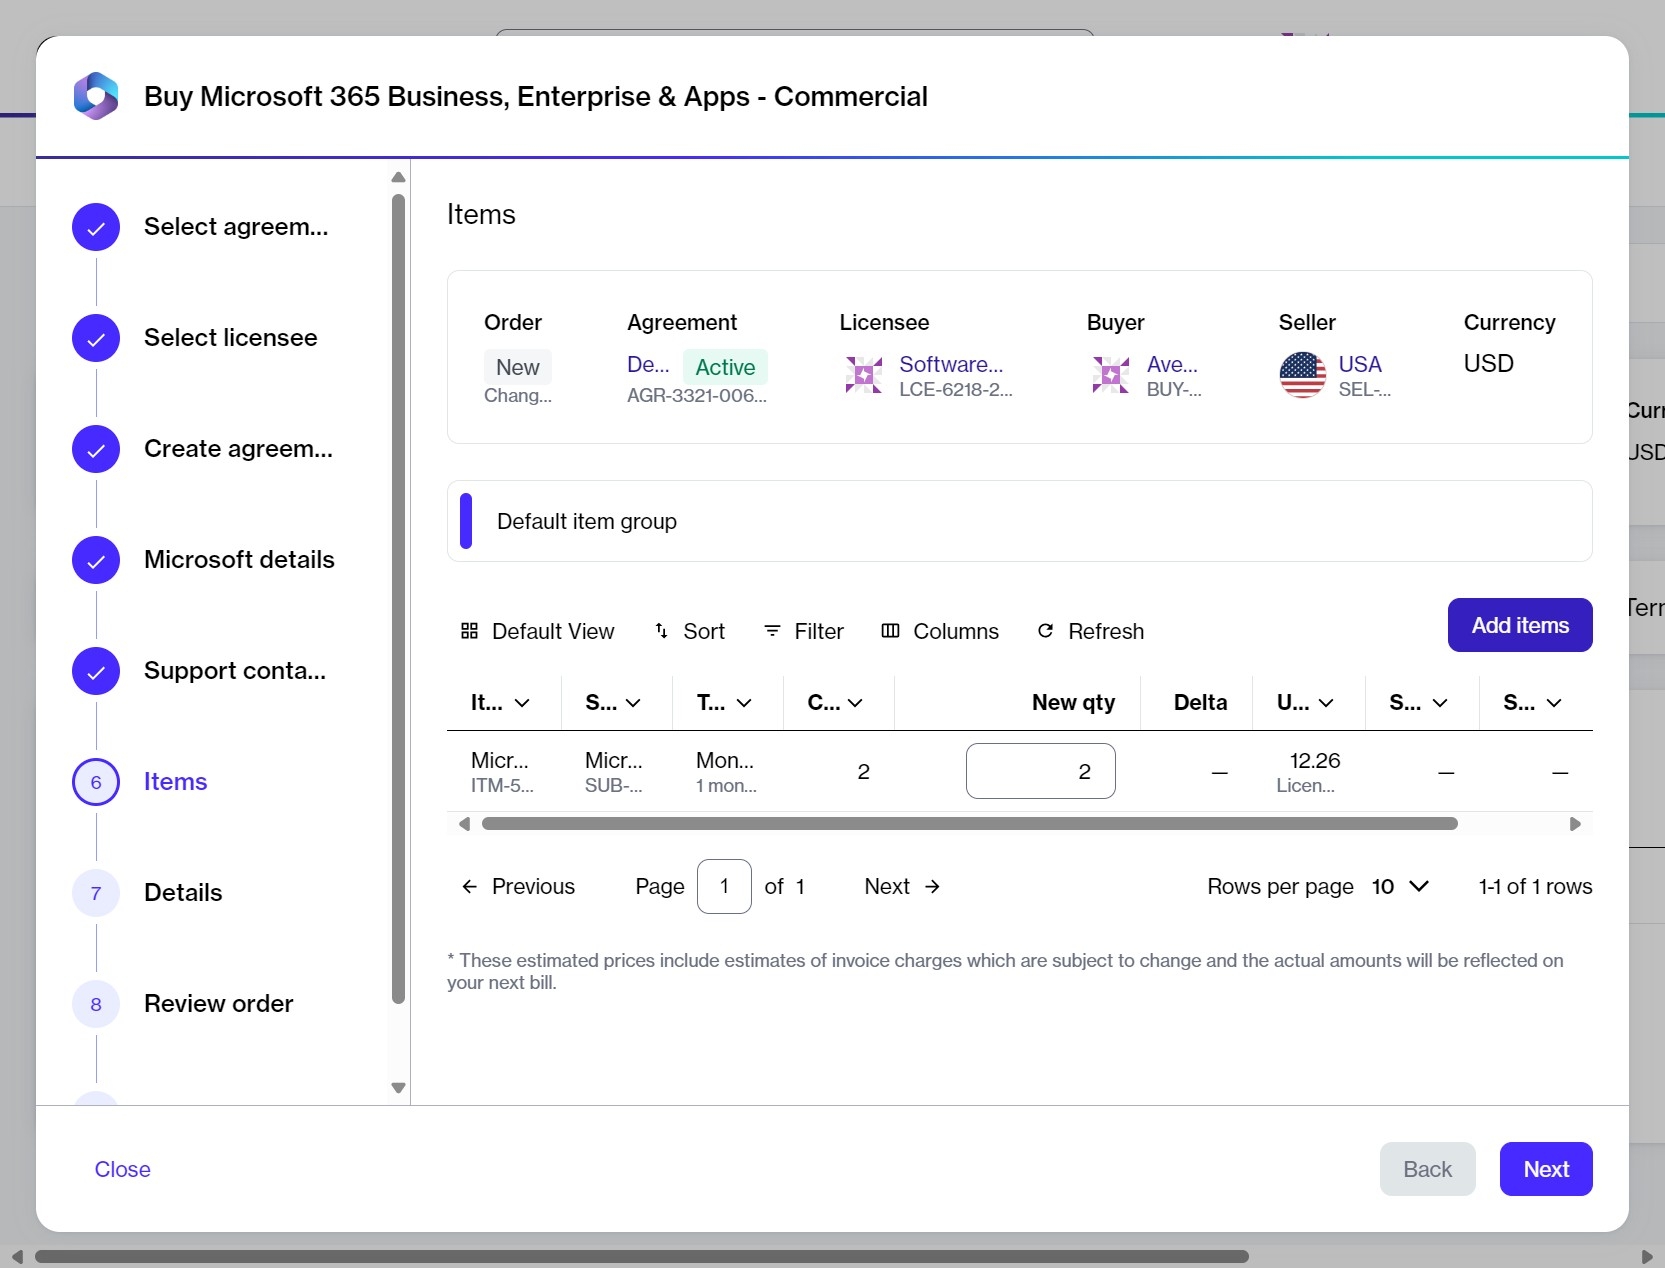
Then, on the agreement details page, select Buy more. The purchase wizard starts, and the Items step within the wizard is displayed.
Add the required items to your order
In the Items step within the wizard, do the following:
Select Add items to choose the items you want to order.

Use filters to find the required items. In this example, search for Power BI using the following steps:
Select the
Filter option in the grid.
Select Add another condition and then use the dropdown to make the following selections:
Select Product Item Name.
Set the filter to Contains.
Type the name of the required product (in this case, Power BI).
Close the filter box.
Select the individual items you need from the list. You can select multiple checkboxes.
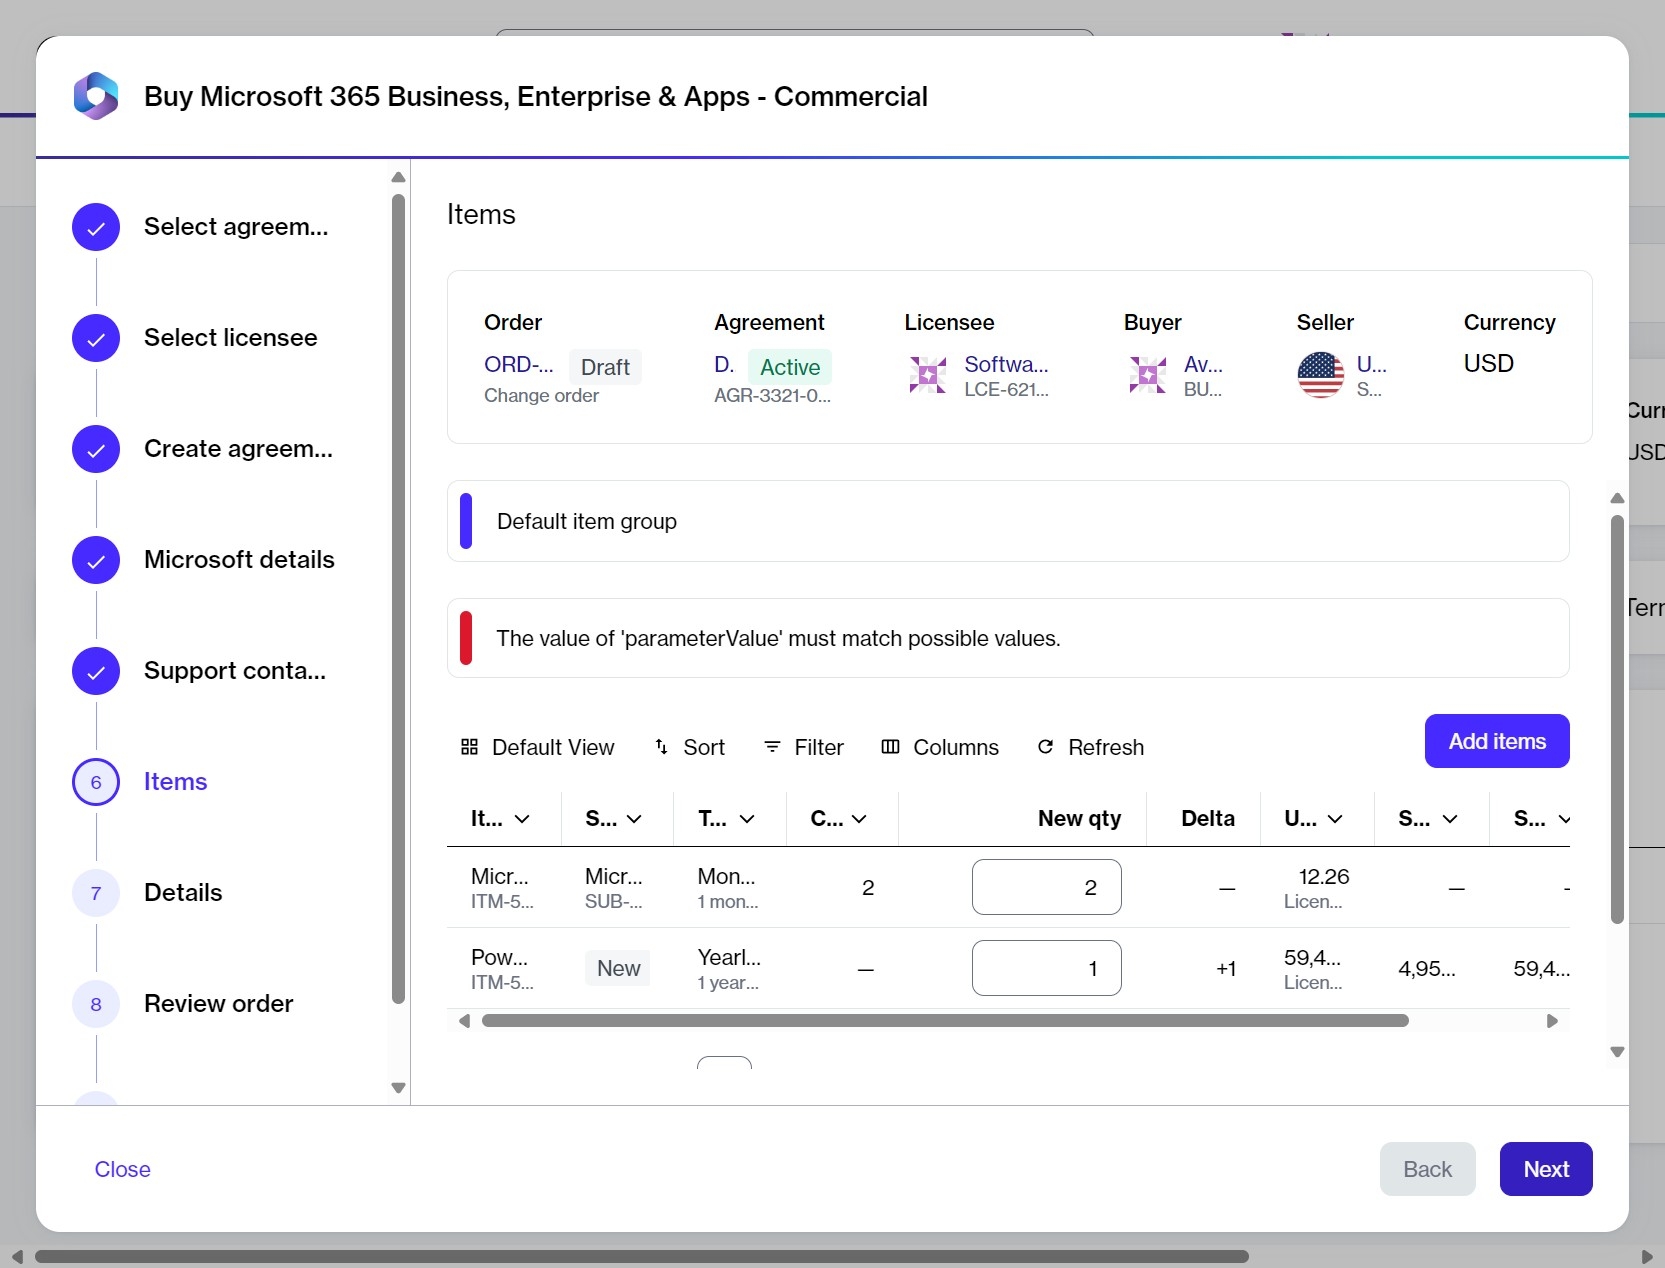
Select Add items. Your selected items are added to the agreement, and the Select items page is displayed again.
Set the quantity of your newly added items in the New qty field. Then, select Next.

Complete the remaining steps in the wizard
Details - Provide reference details, like additional IDs or notes, and select Next.
Review order - Read the terms and conditions and the privacy statement. When done, select Place order.
Summary - Select View details to go to the order details page. Otherwise, select Close to exit the wizard.
Next steps
You can check the status of your new order on the Orders page or in the Orders tab on the agreement details page.
Note that once you place the order, the agreement status changes from Active to Updating. You will not be able to place any additional orders under this agreement until your current order has been processed and the agreement status is changed back to Active.
Last updated
Was this helpful?