Order Microsoft 365 Subscription for Existing Tenant
How to order a Microsoft 365 Subscription for an existing tenant.
This tutorial describes how you can order a Microsoft 365 subscription by creating a new Marketplace agreement.
When setting up a new agreement, you can either create a new Microsoft account or use an existing one. This tutorial focuses on how to connect your existing cloud account.
To continue, you can either watch the following video guide or keep reading for the step-by-step instructions.
Prerequisites
Before starting this tutorial, make sure you have the following:
Your Microsoft tenant name.
A Marketplace licensee in the active state or permission to create a new licensee (if you don't want to use an existing licensee). You'll need to select the licensee when you are creating the agreement.
Ordering a Microsoft 365 subscription for an existing tenant
Start the purchasing process
To start the process:
Navigate to the Products page.
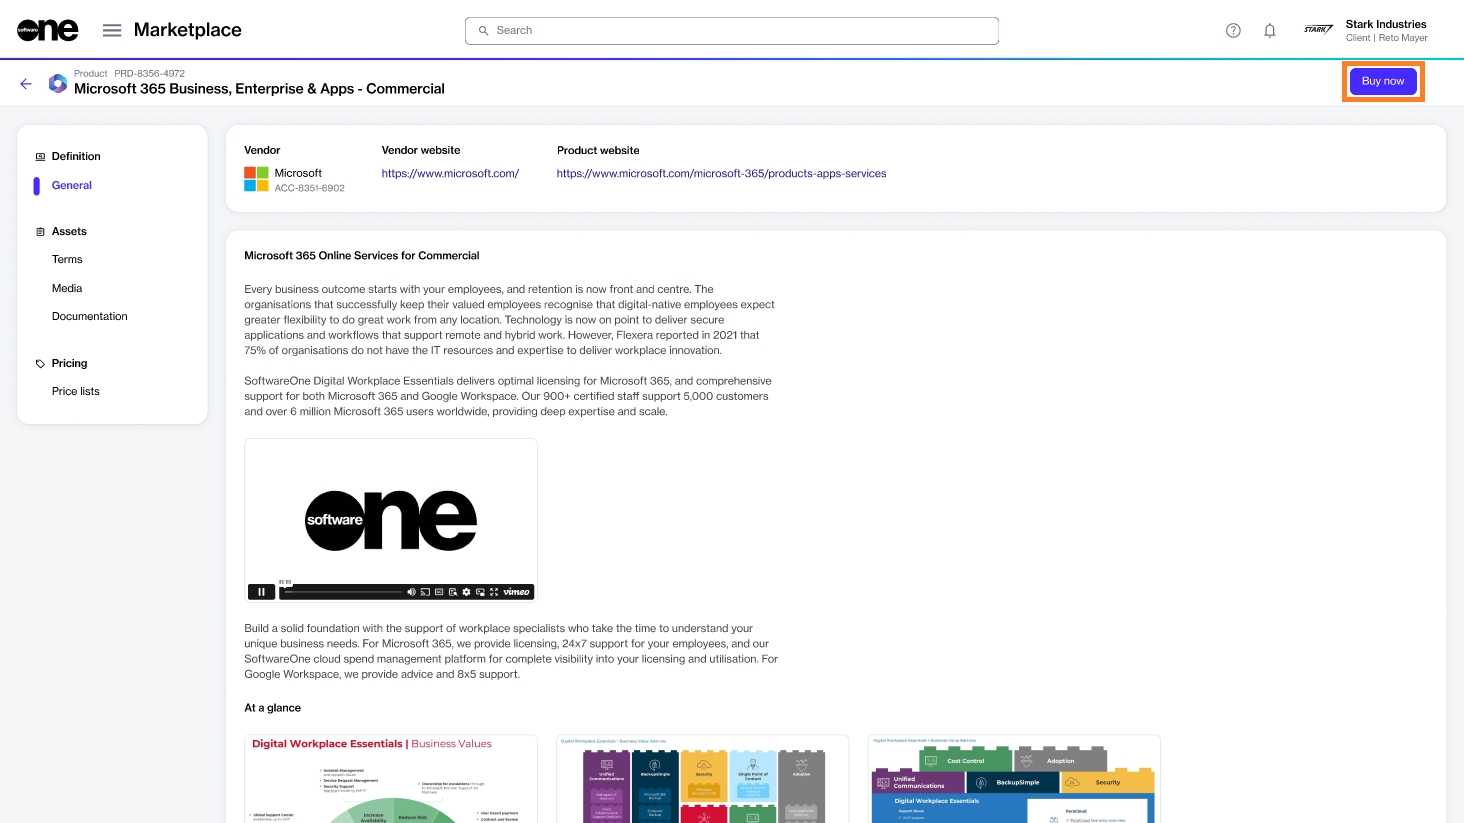
From the list of products, select the desired Microsoft 365 product, for example, Microsoft 365 Business, Enterprise & Apps - Commercial.
On the details page, select Buy now.

Follow the steps to place your order
Complete the following steps, making sure to enter or verify the required information where necessary:
Create agreement - Select Create agreement to start creating your new agreement.
Select licensee - Choose if you want to use an existing licensee or create a new one. In this tutorial, we'll select an existing licensee. You can add a new licensee by selecting Add licensee. See Create Licensees for instructions.
Create agreement - Select Connect existing cloud account to connect your existing tenant. Then, select Next. Note that if you choose this option, the global administrator of your Microsoft account must accept the relationship request.
Microsoft details - Enter the details for your Microsoft account:
Enter the name of your existing tenant.
Fill out the contact form. You'll need to provide the first and last name, email address, and phone number of the person who manages your account.
Select Next. The platform validates your Microsoft tenant details. If no tenant is found, a message is displayed. You'll need to fix the error to proceed.
Special qualifications - Select the checkbox if your organization is a state-owned entity. Otherwise, leave it clear. A company is classified as state-owned if it is either controlled by the government or performs functions that the government considers its own.
Support contacts - Enter the contact details of your support administrator and choose your preferred support language. Select Next.
Items - Do the following:
Choose the items you want to order and then select Add items. You can select multiple items. When the items are added, the Select items section is displayed.
Review and adjust the license quantity as required.
If applicable, read the offer attestation. The offer attestation is only displayed for Windows 365 Business with the Windows Hybrid Benefit.
Select Next.
Details - Provide reference details, like additional IDs or notes, and select Next.
Review order - Read the terms and conditions and the privacy statement. When done, select Place order.
Summary - Select View details to go to the order details page. Otherwise, select Close.
Next steps
Once you have placed your order, we verify the order details, including the Microsoft tenant ID, and create your new subscription under your existing tenant. If there are issues with your order, the order details page provides information about the problem and any actions you may need to take.
Last updated
Was this helpful?